Hello World
- What to get out of this Example
- Getting Started
- Sign up for a Developer Account
- Working with Company Data
- Setting up the Postman Client
- API Calls
What to get out of this Example
The example provided here will take you through all the steps required to your first set of API calls done via the API using Postman as a web service client.
Getting Started
The initial steps required are described here. After you have completed these, you will have access to the OAuth information required in the next steps.
- Client ID
- Client Secret
Sign up for a Developer Account
Proceed now to the signup page
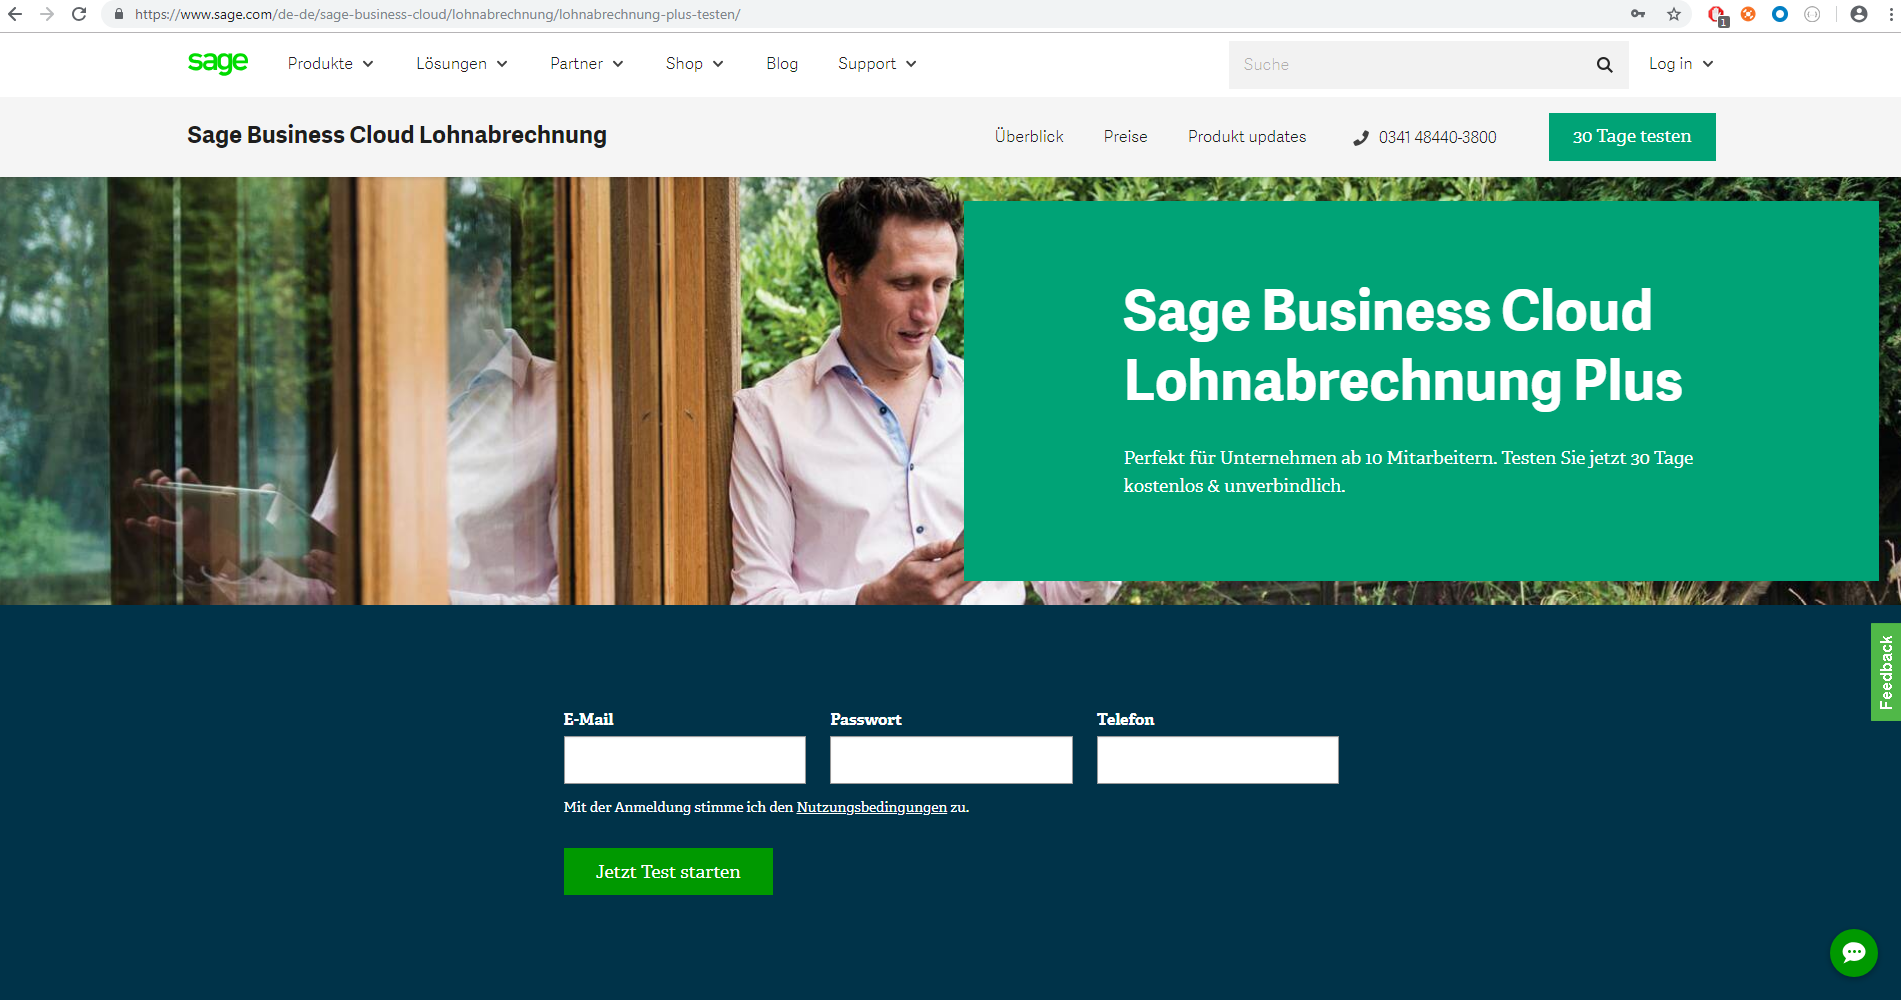
Enter an email in the first entry field (it will be your username in the application) and chose a password in the second one. These are your login credentials for the test account which includes a test company. The third field is for a phone number, but this is optional.
The password needs to be at least 8 characters long and contain letters, numbers and at least one special character.
After you hit the orange button at the bottom of the form, your test account will be provisioned along with test data for you to work with (which is much more fun if you know German, but you don’t really needs this for the example as this is about interacting with the system via the API, not about setting up pay runs via the UI).
The next popup asks you to confirm the data privacy statement and you need to hit the green button to accept it and proceed.
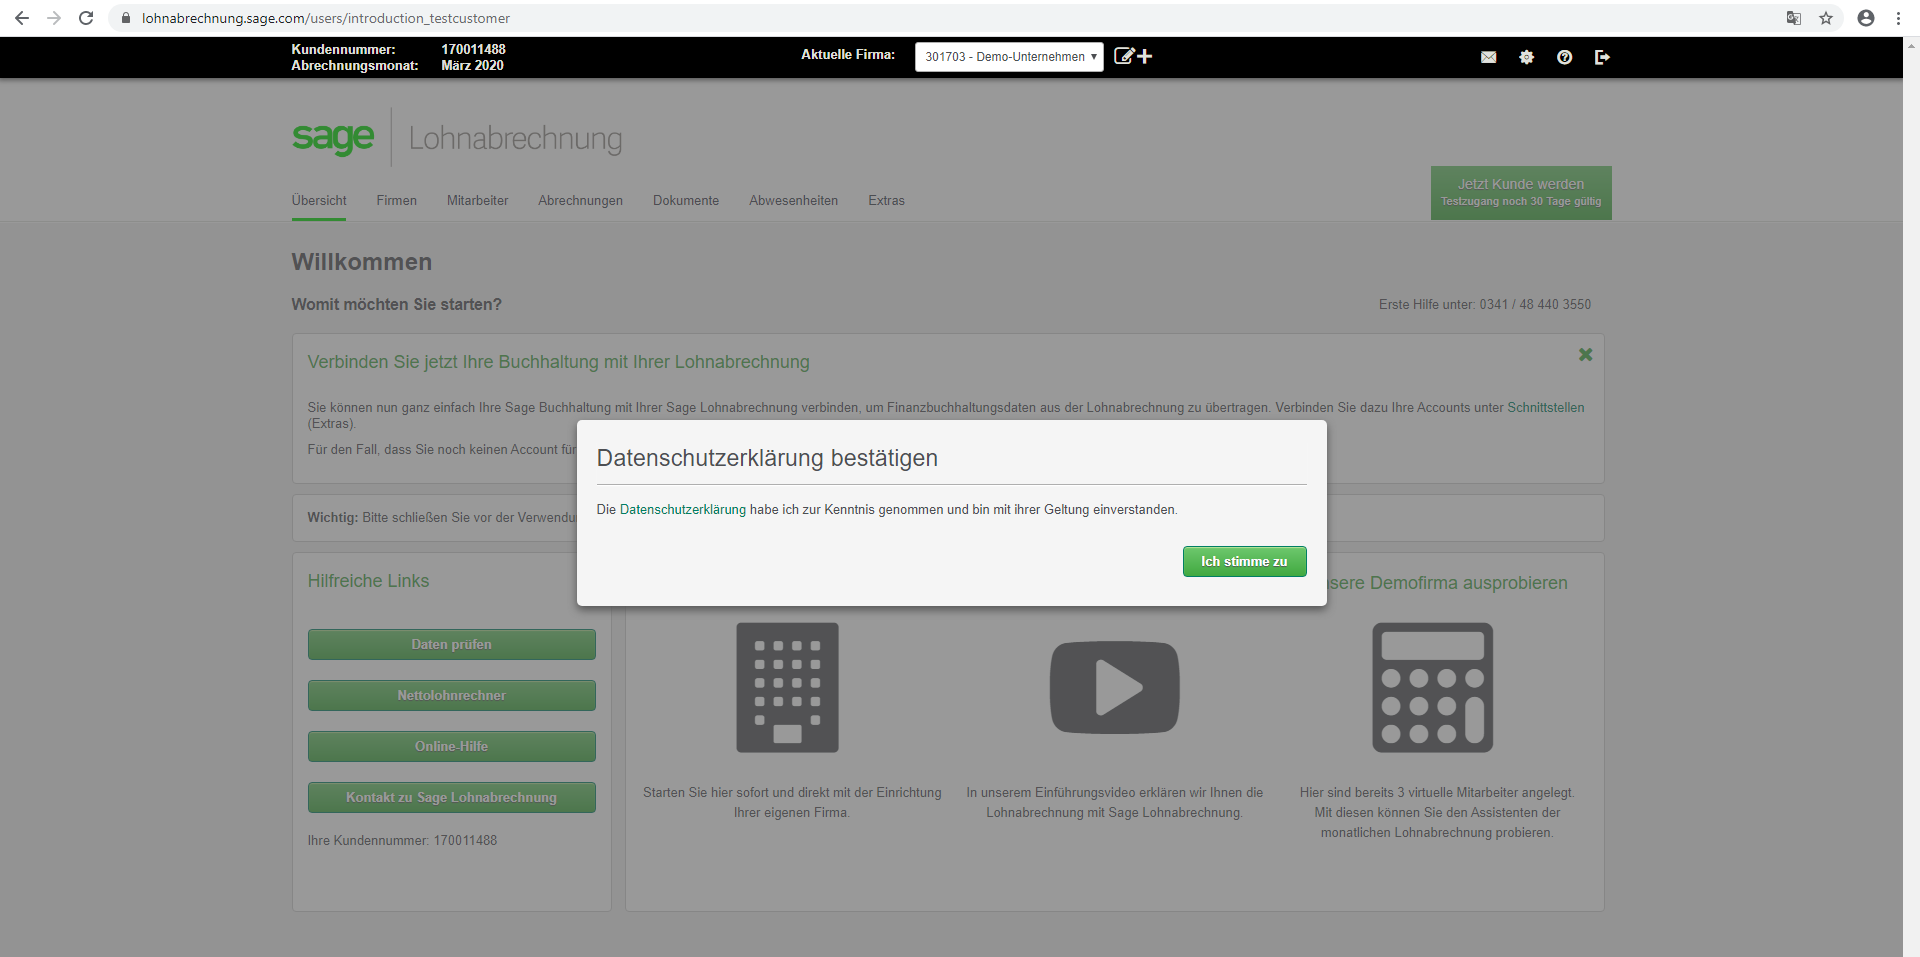
On the next page, you can find your customer ID (“Kundennummer”) and company ID (“Firma”) at the very top. The company ID is required later in the example when retrieving the employee list as you can have multiple companies within the same account.
Working with Company Data
As next steps, please hit the “Firma” icon at the top which takes you to the data of the test company that has been created for you as part of the signup process:
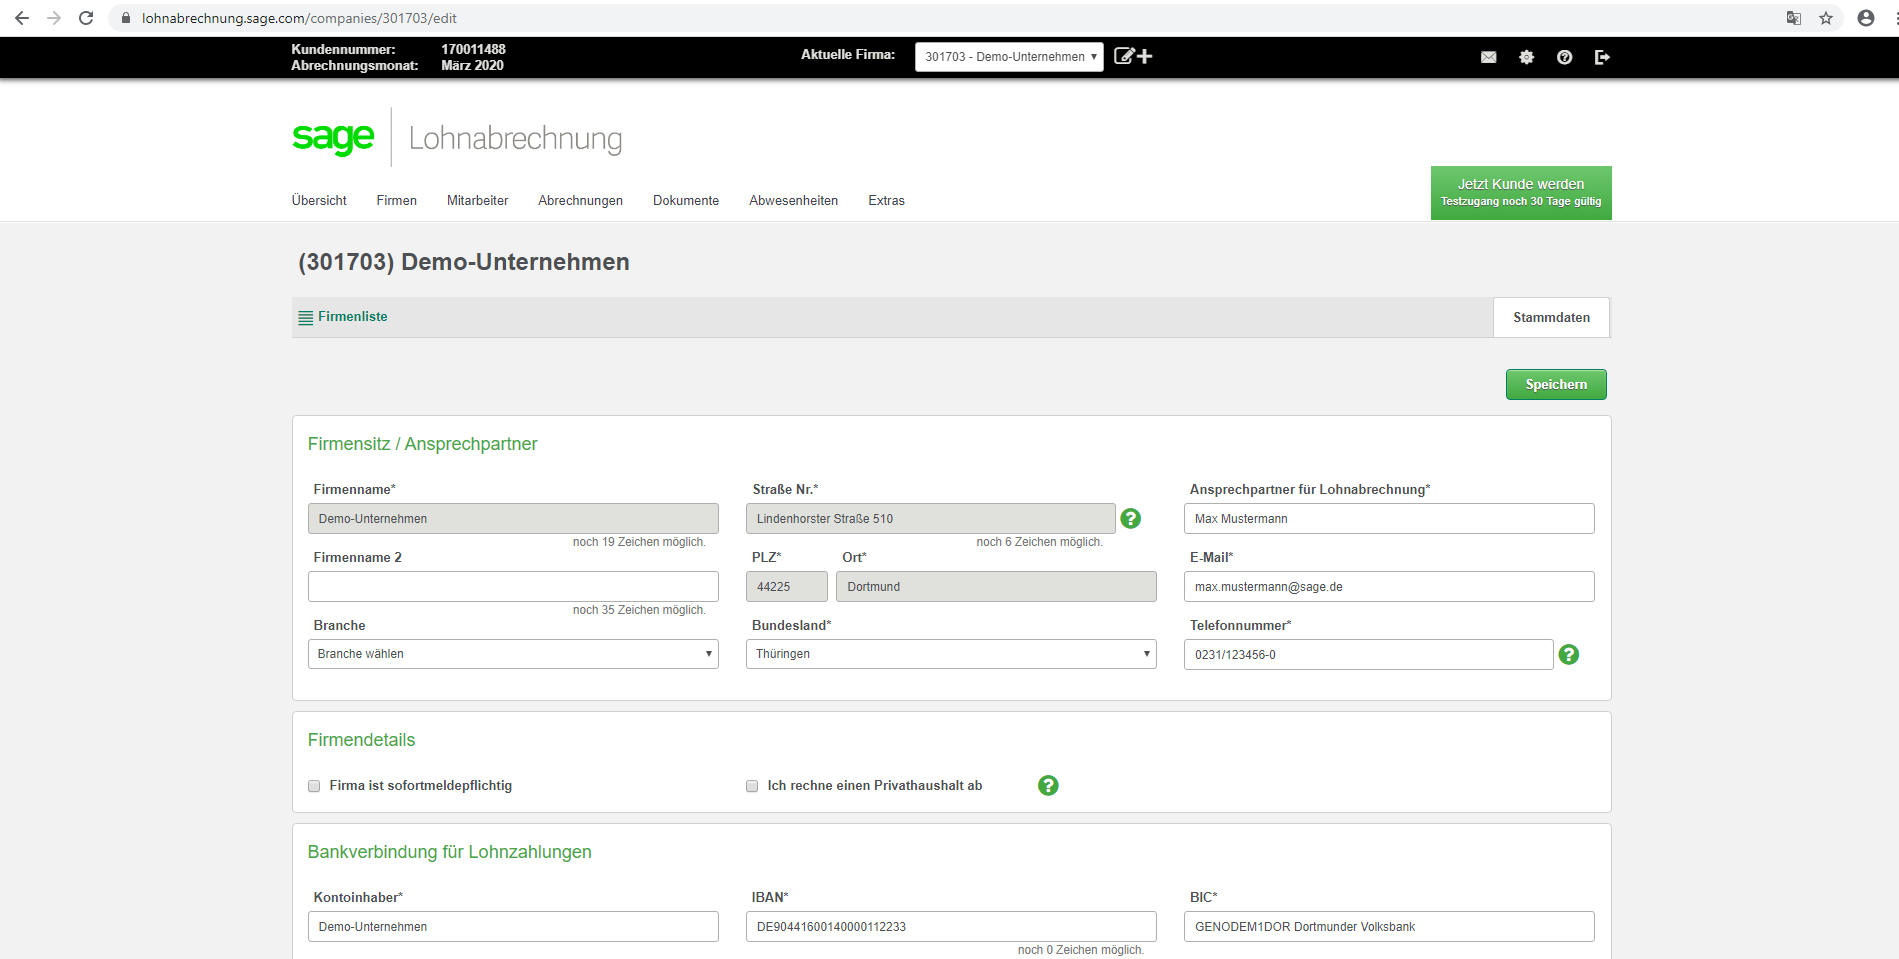
Since this demo company of course also contains a set of employees, you are now ready to call the API.
First, however, you might be interested to learn who’s working for you by hitting the “Mitarbeiter” button at the top which takes you to the employee listing:
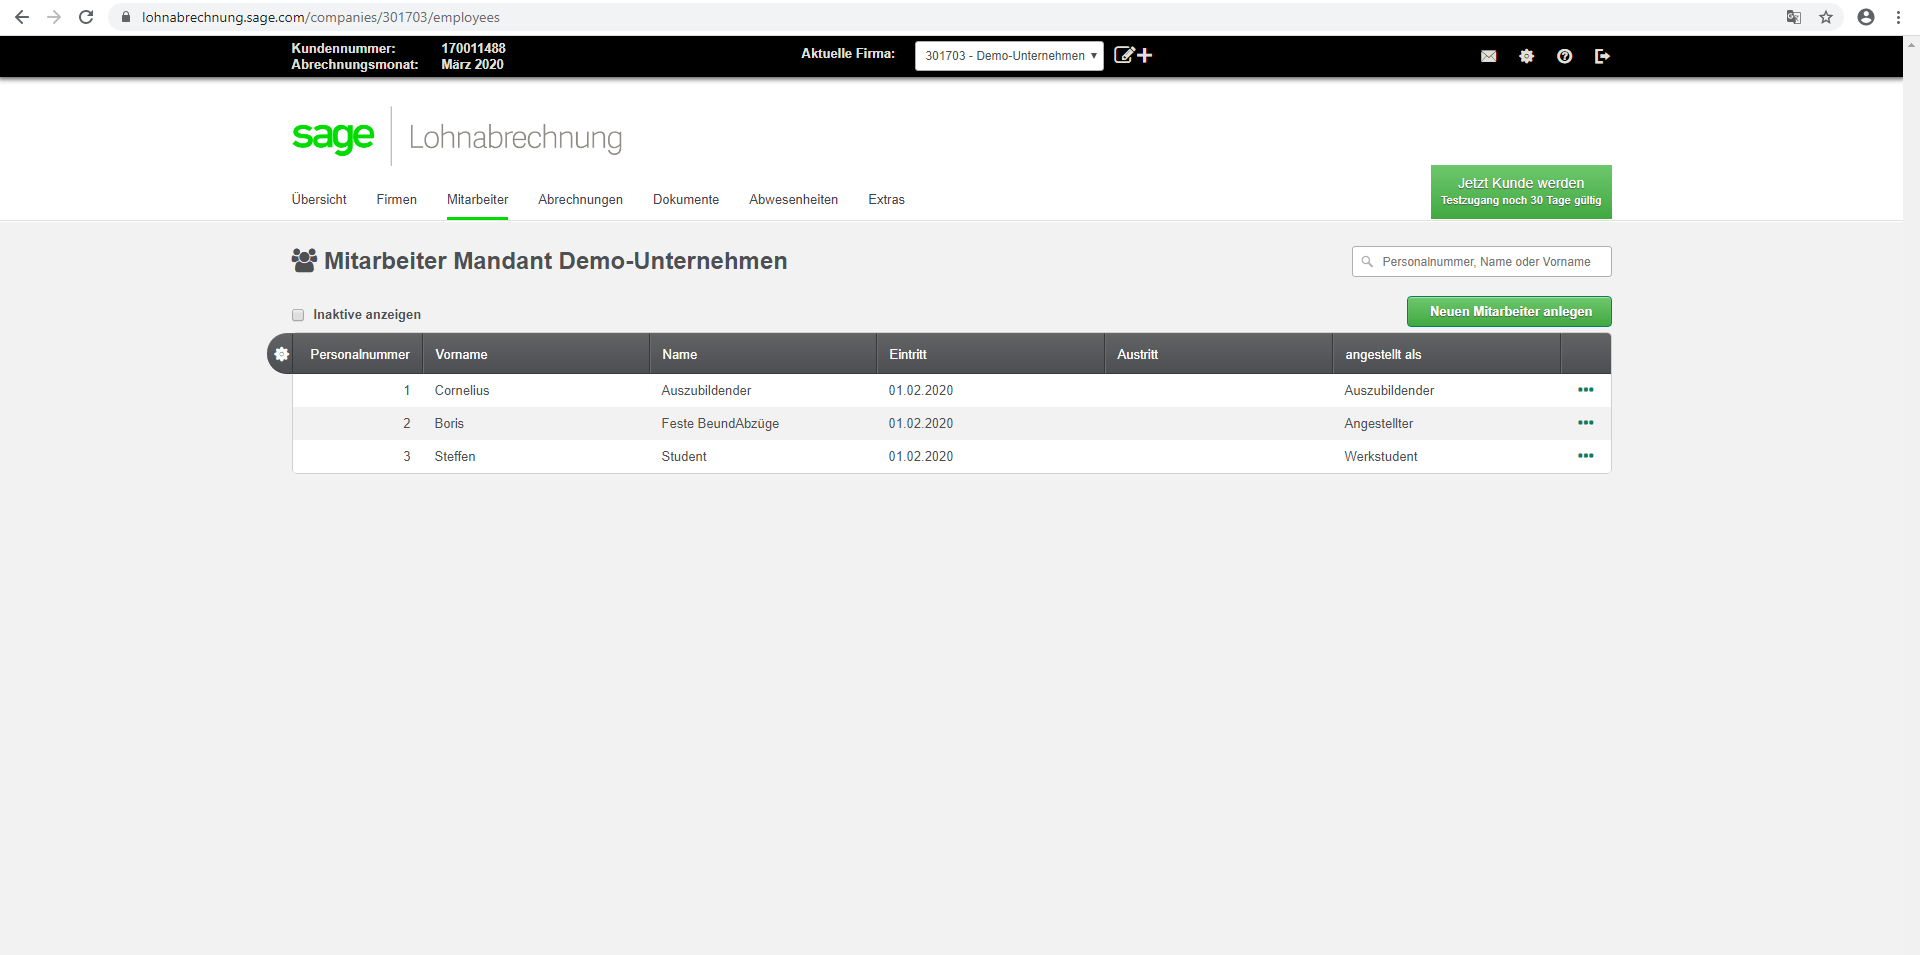
As you can see, 8 employees have already been provisioned. You will see their data again later as a result of an API call.
Setting up the Postman Client
As already mentioned, this Hello World example uses Postman as API client. The actual approach you chose is of course completely up to you.
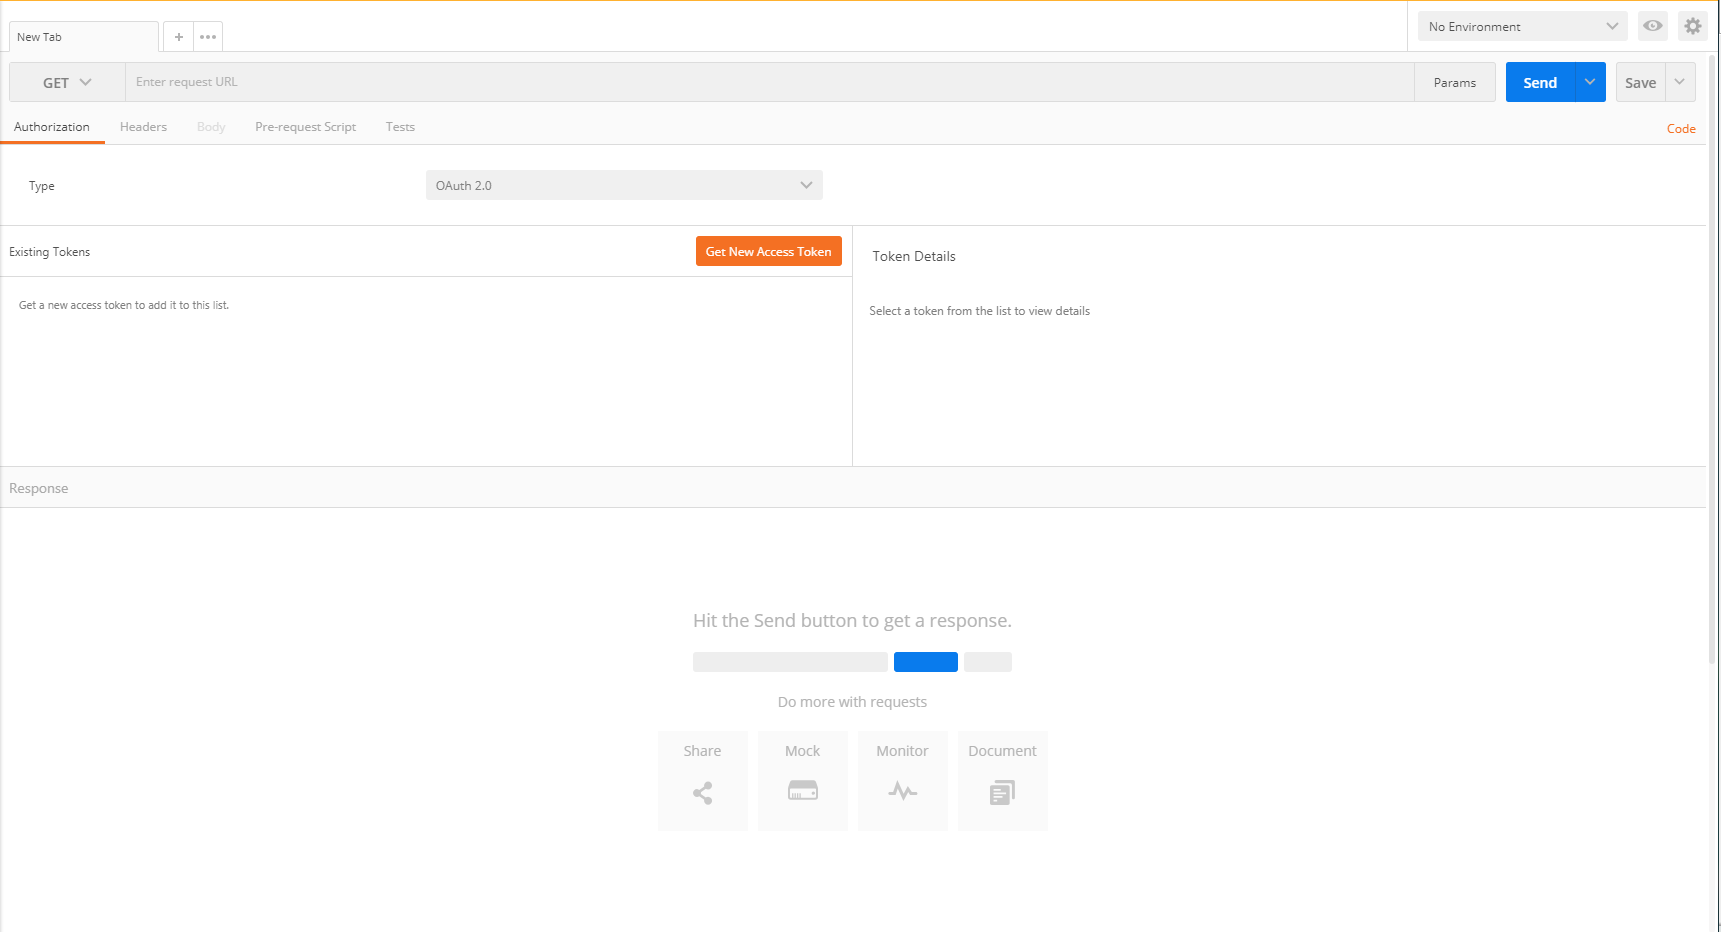
After you fire up Postman, select “Authorization” in the request window (which defaults to a GET request) and chose OAuth 2.0 as type, then hit “Get New Access Token”:
Enter the data as below:
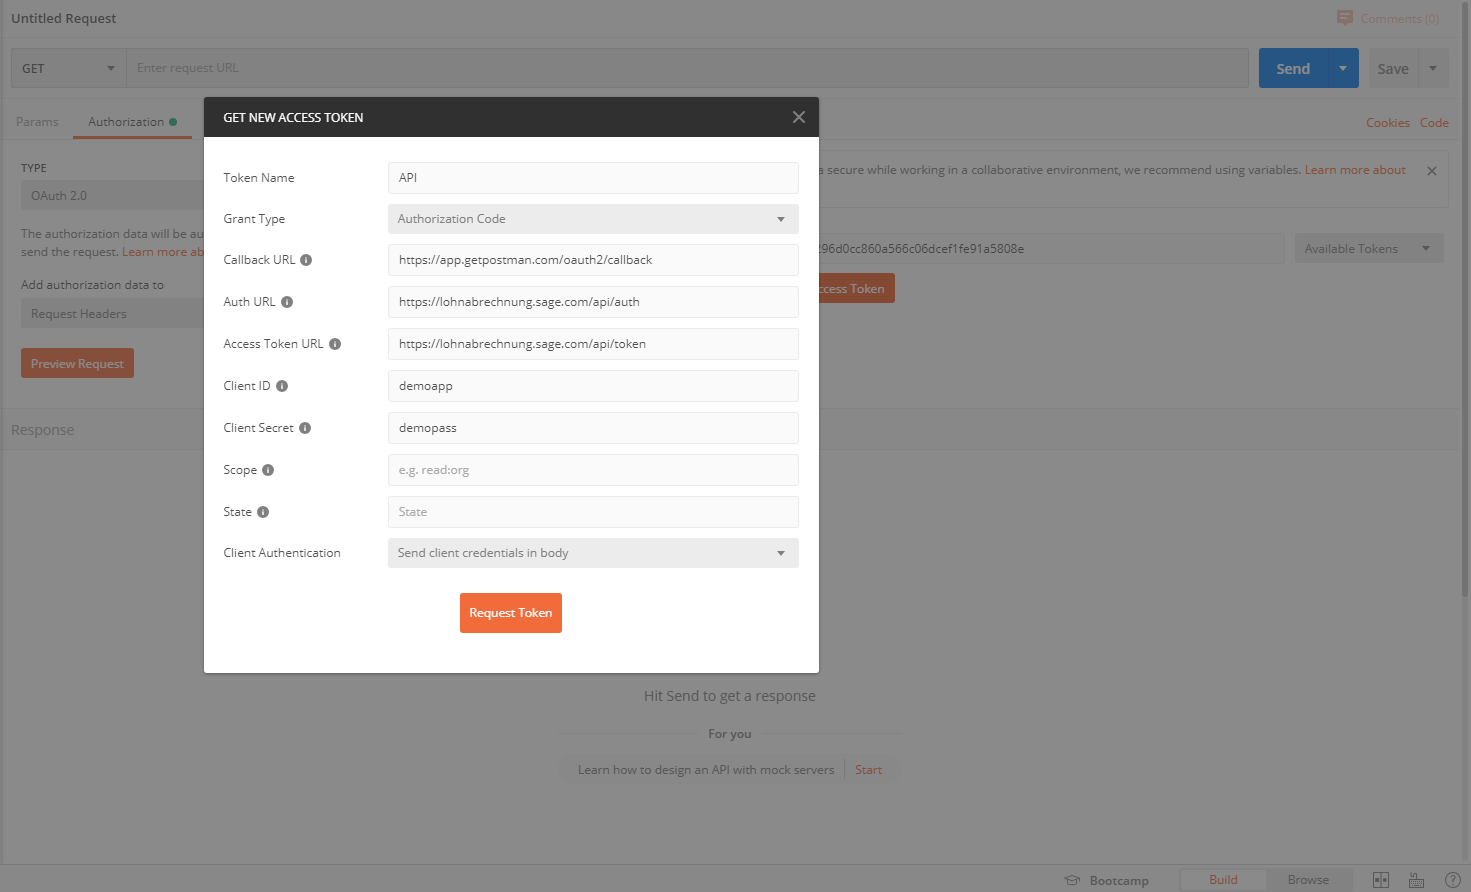
Note that here you need the Client ID and Client Secret that was provided to you by Sage.
After requesting the token, you are forward to the authorization dialog of Sage Business Cloud Payroll Plus:
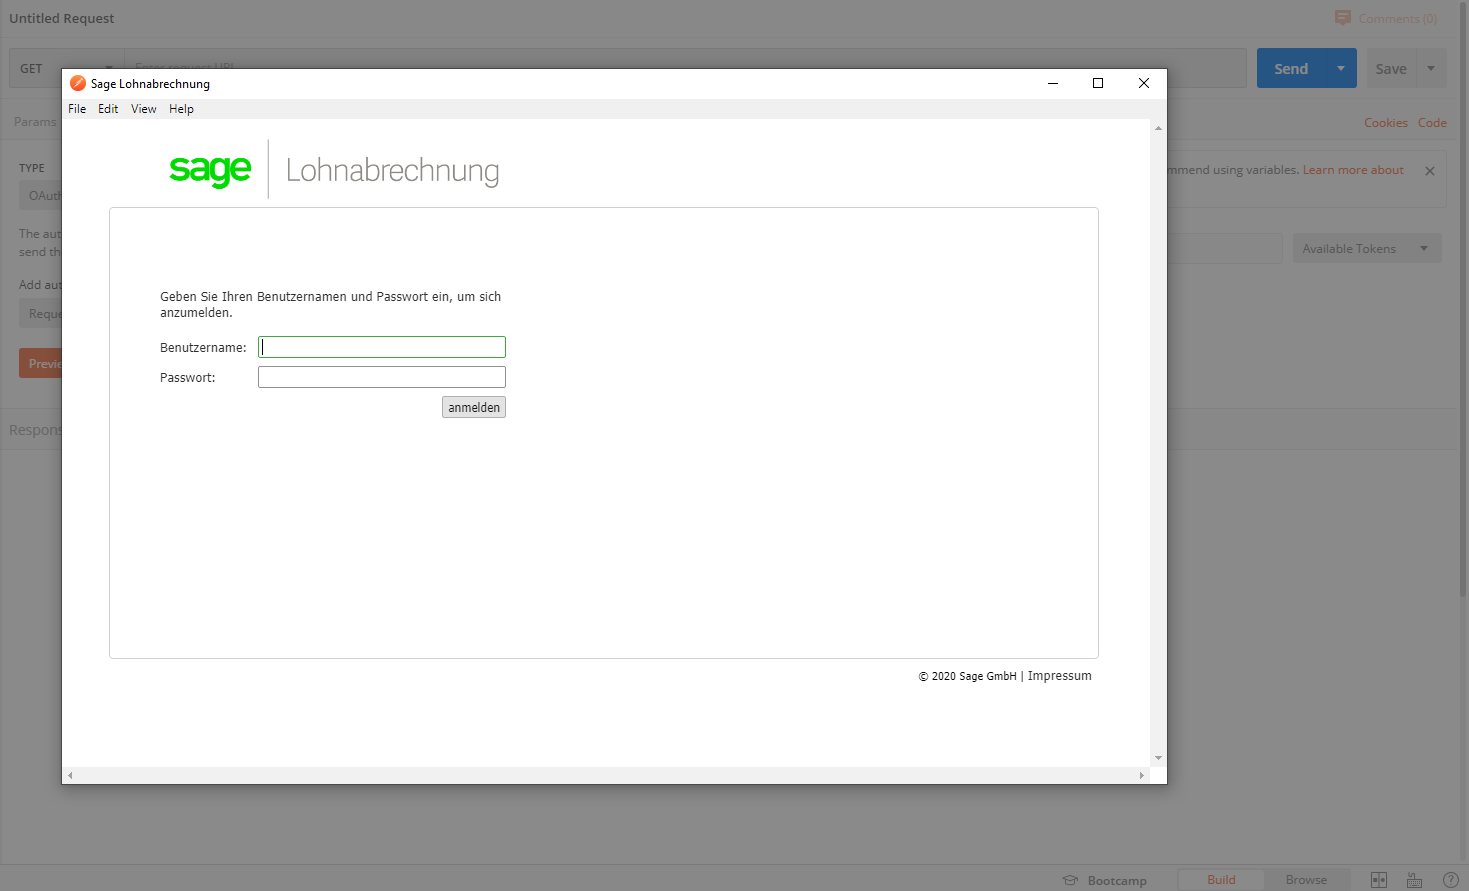
where you need to login with the username (email) and password supplied when creating the test account. Hit the green button (“Verbinden”).
After you’re back in Postman, hit the “Use Token” button.
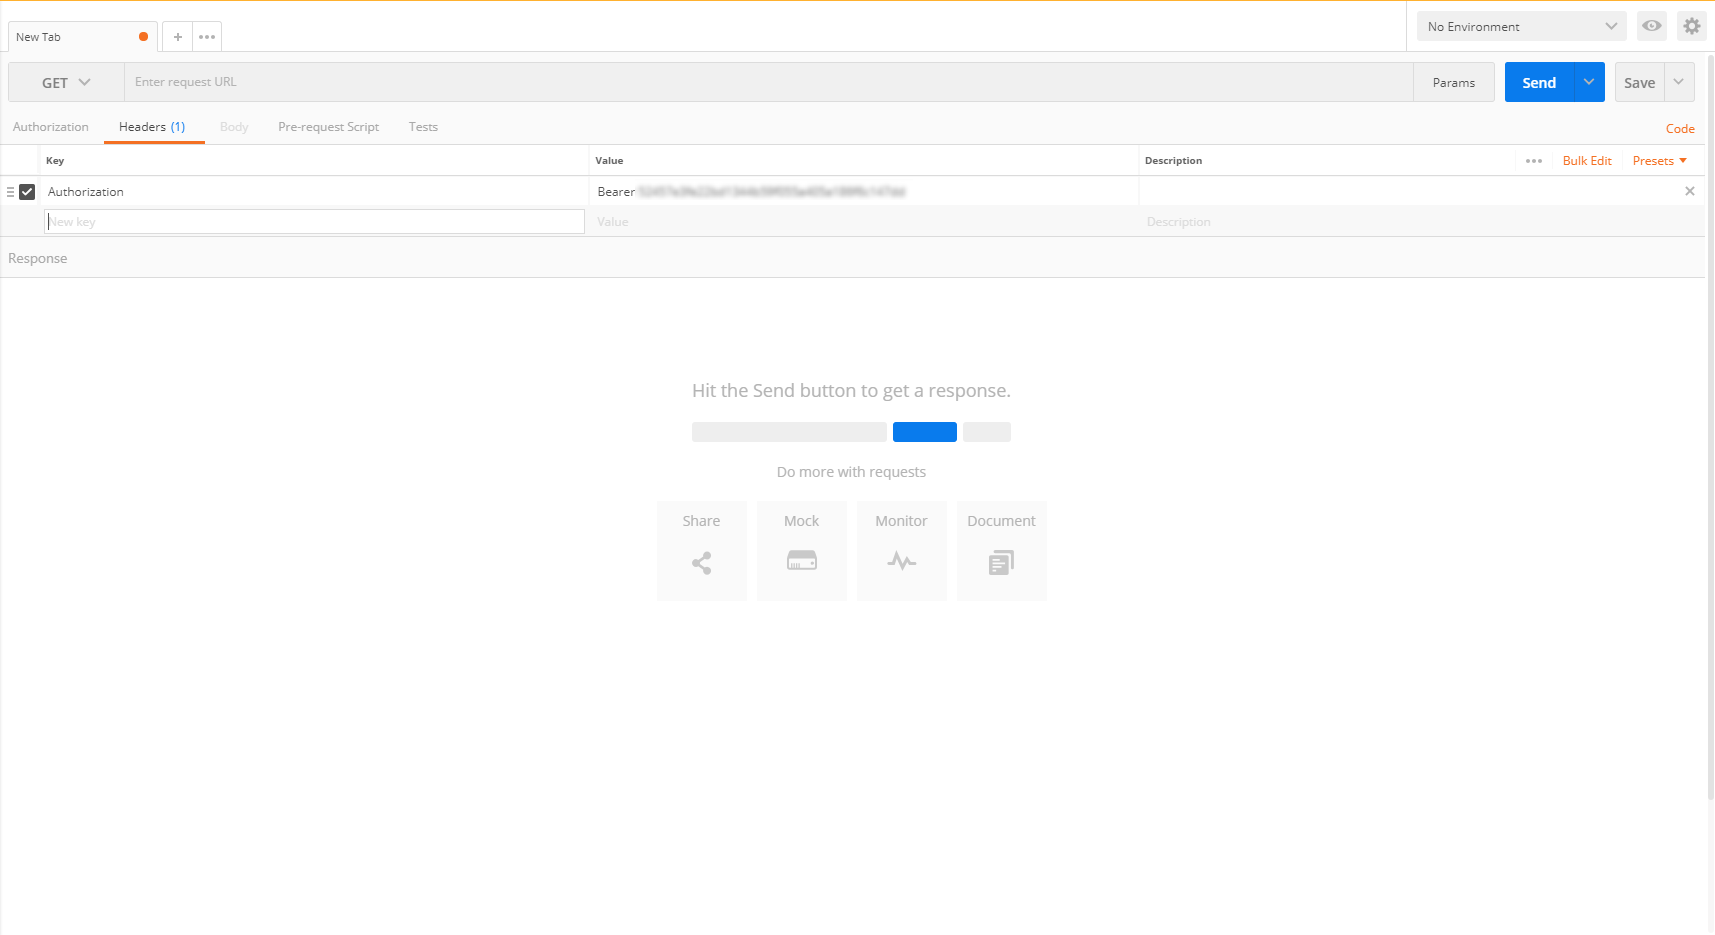
You can validate that the token is transmitted as part of future API calls by checking the “Headers” section in Postman which needs to contain an authorization header with the bearer token:
API Calls
Finally, you can invoke the first API calls.
User name
URL: https://test-api.sage-entgelt.de/v1/username

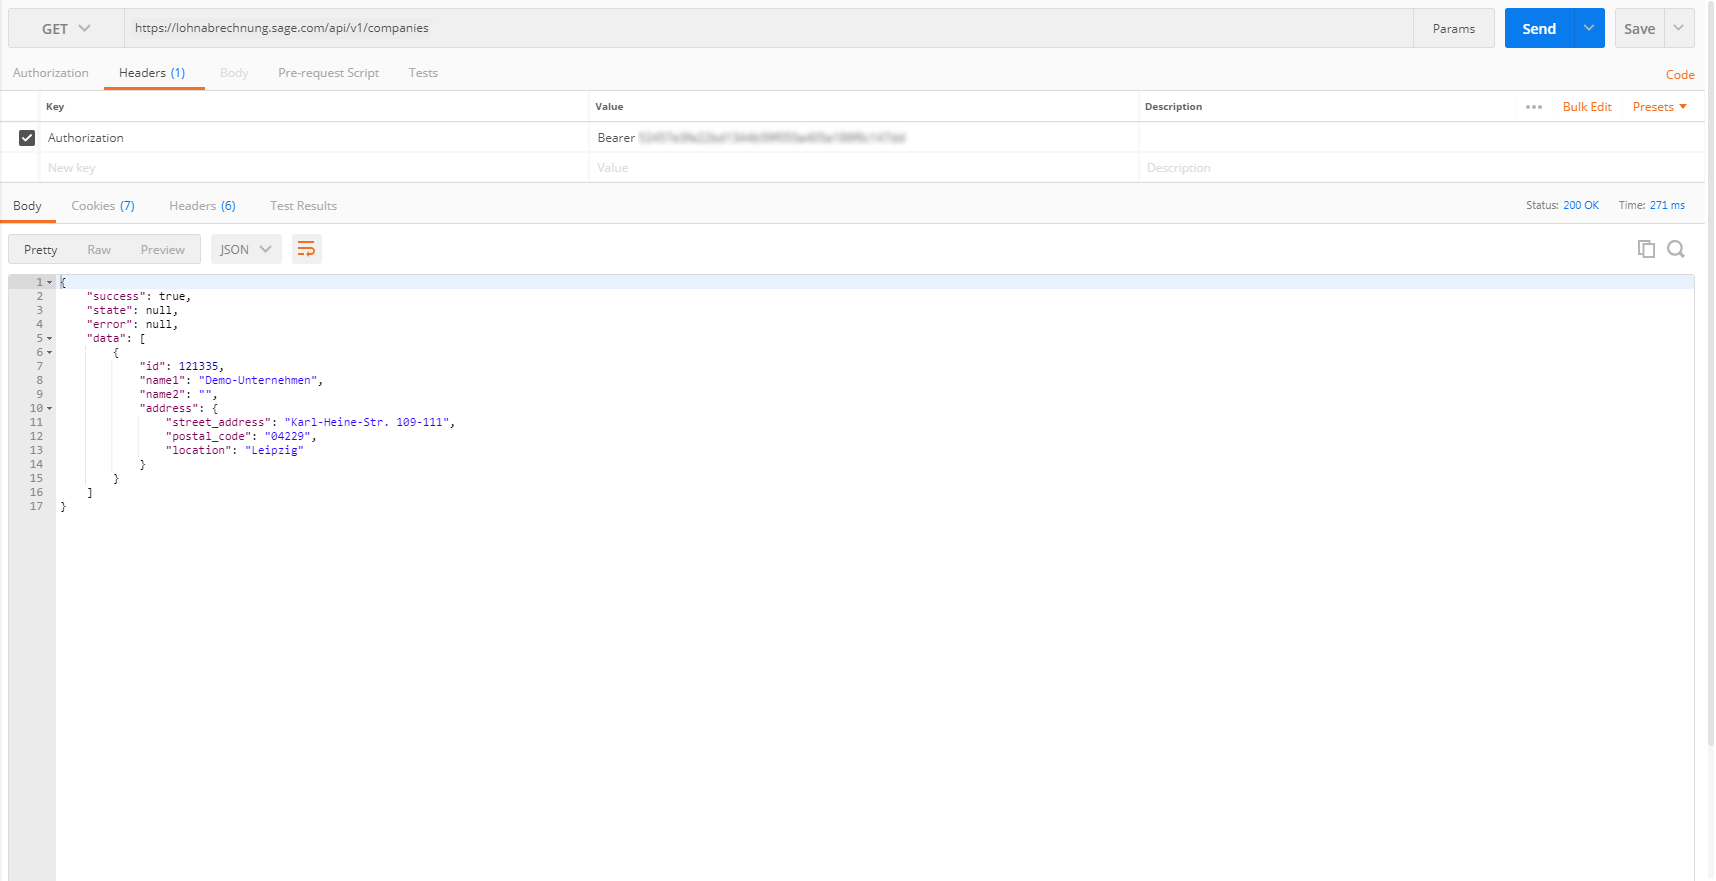
Company Data
URL: https://test-api.sage-entgelt.de/v1/companies
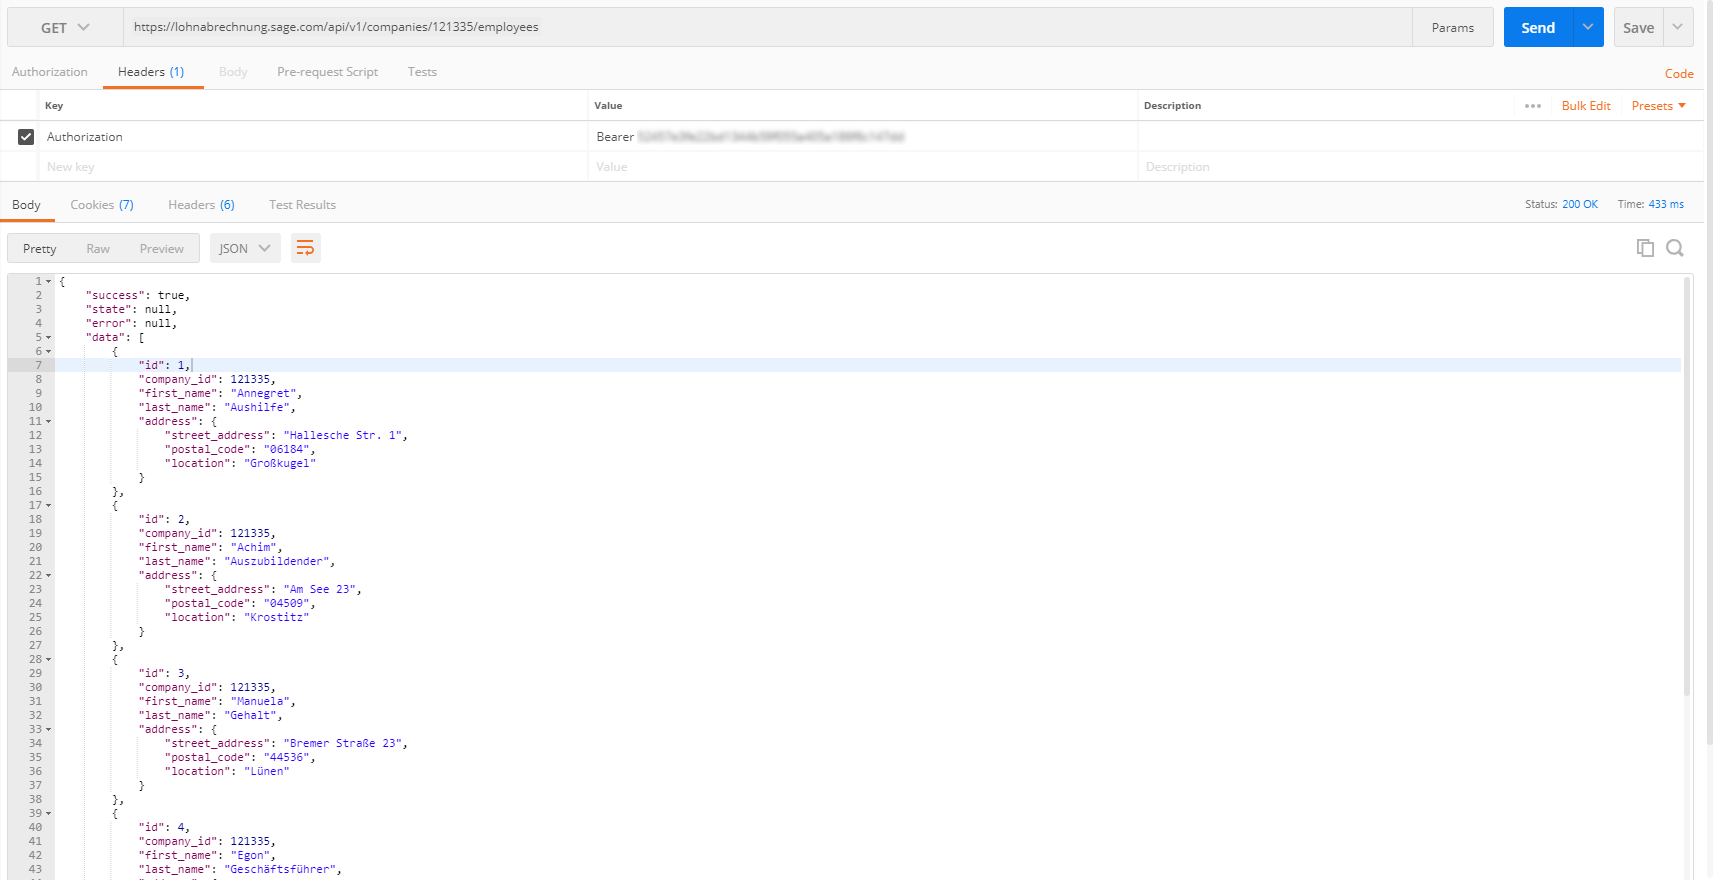
Employee List
URL: https://test-api.sage-entgelt.de/v1/companies/121335/employees
Note that here you need to supply the company ID which was created for you during signup.
More Fun
Checkout the API documentation for details on the various API calls available and how to use them.