How to deploy custom nodes and pages
Less than to read
To deploy custom nodes and pages, Sage X3 services needs to be installed on the server. Follow the documentation on how to install Sage X3 Services.
Installation reminders
Unzip the latest Sage X3 Services deployment version to the server.
In the main directory, set up the xtrem-security.yml and xtrem-config.yml files:
- xtrem-security.yml: Set up the client ID and the secret ID parameters as defined in the Sage X3 Global Settings (Administration > Global Settings).
- xtrem-config.yml: Set up the add-on folder location.
Execute from the main directory the following scripts using Powershell:
- install.ps1: Installs the Windows Service x3-services matching your deployment pack.
Note: Prior to the installation, You may need to use the uninstall.ps1 script to uninstall a previous deployment.
Test the installation by opening the Sage X3 /handheld URL.
- For example, http://localhost:8124/handheld.
Deploy your packages in your add-on folder
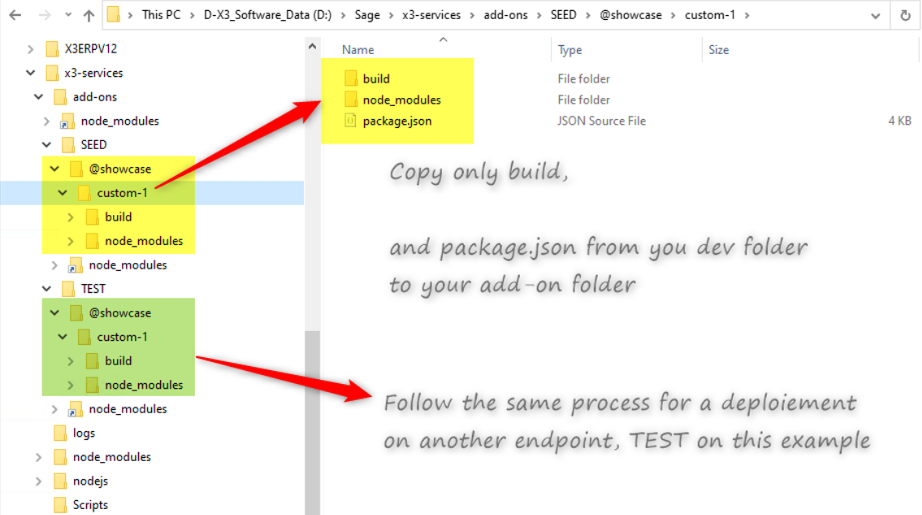
Once your package is built in VSCode, create the add-ons folder inside the location corresponding to the configuration done in the xtrem-config.yml file.
In the add-ons directory:
- Create a directory matching your endpoint.
- Create a sub-directory matching your package owner.
- Create a sub-directory matching your package name.
- Copy the build folder and the package.json file from your package dev folder.
- Delete the previous node modules shortcuts from the add-ons directory.
Below, you can see the example of the @showcase package custom-1 being deployed in two endpoints:

If you need to update the add-ons folder, you have to stop and restart the Sage X3 Services in Windows Services to deploy the changes.
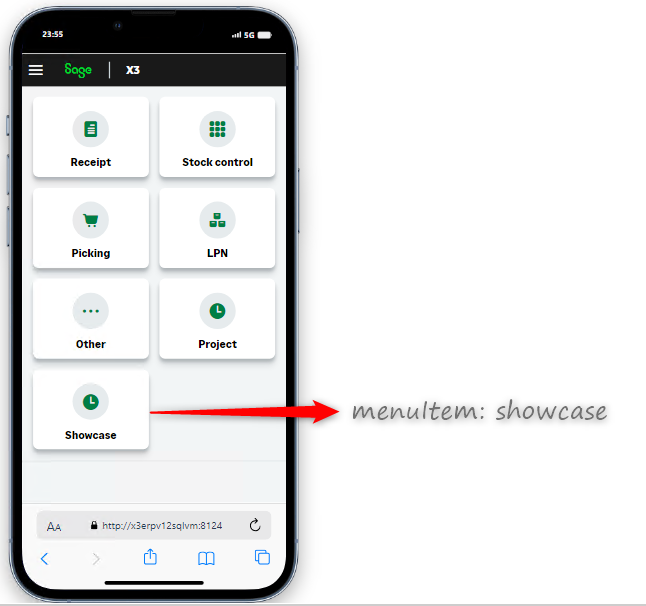
You are ready to test your applications on the Sage X3 handheld version (/handheld).
