Import file use case
Less than to read
Before we start, the pairing process between the 3rd party application and X3 configuration should be done with a pair of access and refresh tokens ready to use by the 3rd party application.
The set-up is similar to the current File Import except one particular point on the folder where imported files are stored. That is why we recommend that you read through out the File Import guide, the Batch Processing for Import Templates and also some real template examples:
-
X3 administrator sets up an Storage Areas for 3rd party application by following previous guide with this particular point:
-
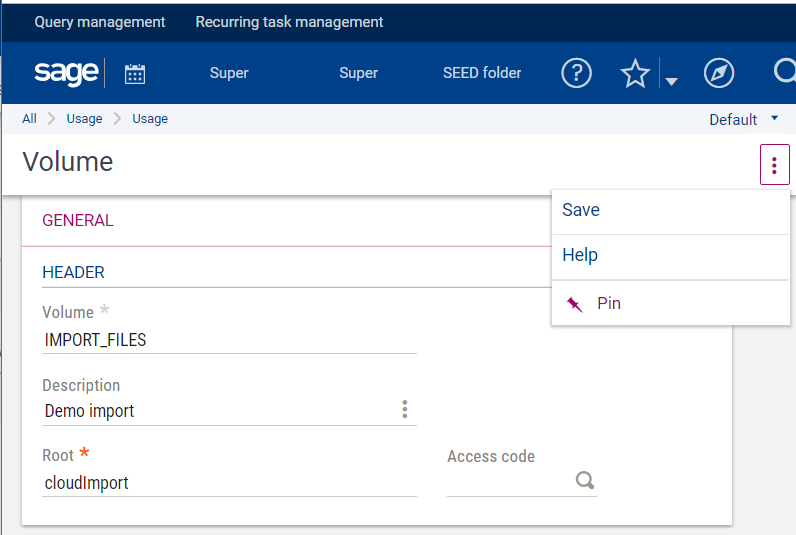
In the site-map, follow the path Usage > Usage > X3 Storage Areas, click the “Create” link to create a volume:

Please note that the Root is always cloudImport for Data Ingestion API and cloudExport for Data Delivery API. This set-up is needed for the First Time Use only.
-
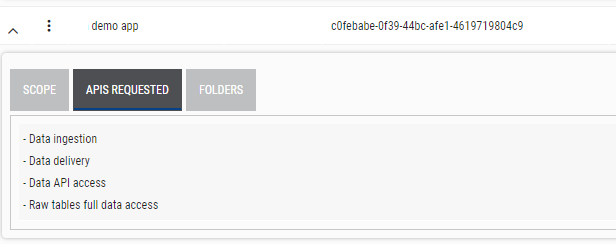
An automatic task will create a folder whose name is the id of the 3rd party application which can be retrieved from the site-map by following the path Administration > Third Parties >List of paired third parties, e.g:

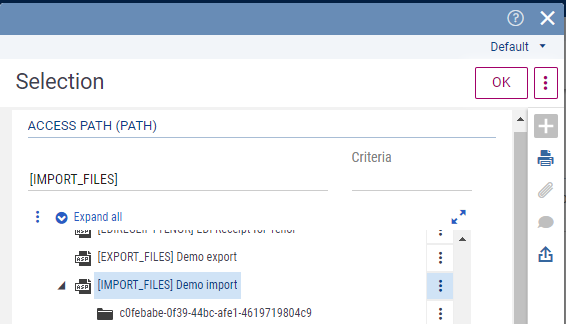
This folder will be use as the storage of you uploaded files through the Data Ingestion API. In this example, it will be [IMPORT_FILES]/c0febabe-0f39-44bc-afe1-4619719804c9 and all of 3rd party application uploaded files will be stored here.

Other steps stay the same as the current process.
-
- X3 administrator sets up the import batch with the input file location created previously. In this case, it will be [IMPORT_FILES]/c0febabe-0f39-44bc-afe1-4619719804c9/import_soh#.txt for example. Please note, # representing 5 digits number.
- 3rd party application uploads the file to be imported in X3. For API call example, click here.
- 3rd party application tracks the uploaded file to be imported in X3. For API call example, click here.
- X3 imports data from 3rd party application uploaded file. To view the jobs created by the recurring task, go to Usage > Batch server > Query management to view them in the queue.
For full detail with screenshot of this use case, click here.