APIWebSiteAnon Instructions
Less than to read
How to use the APIWebSiteAnon solution
This guide will outline the steps to use APIWebSiteAnon solution. Before following this guide, you must read through the Windows Authentication guide on how to set up API access via Windows Authentication.
Once you have confirmed the API is up and you can return sites from your browser, you can use the APIWindowsClient solution to test and make calls to the API.
On your development machine
- Unzip the APIWebSiteAnon solution and open this in Visual Studio.
-
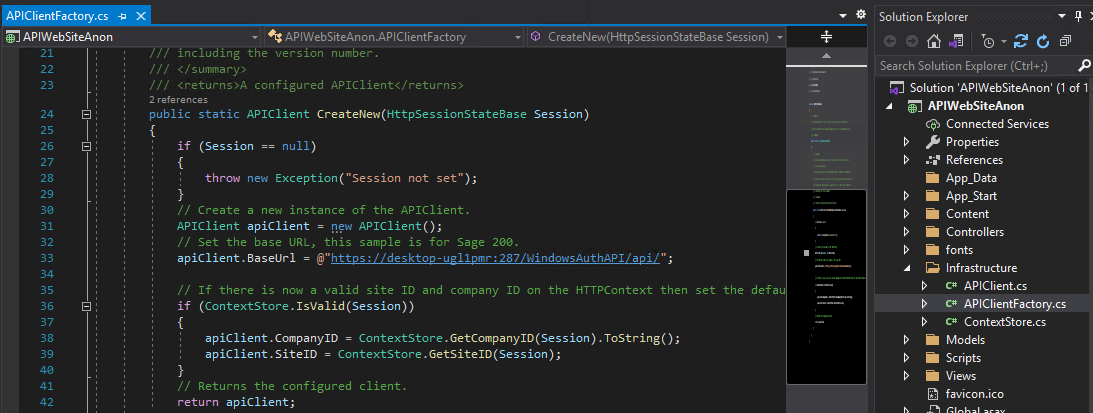
Edit the APIClientFactory.cs class (this is in the Infrastructure folder)
-
In the CreateNew method, change the BaseUrl to match your machine name and port of the web service
-
Go to Build then Build Solution.
- Copy the APIWebSiteAnon folder (containing the web.config file and bin folder) to the C:\ on the target machine.
On your target machine
1. Create a new website:
- Right click on Sites in the tree node, and choose Add Website
- Enter a Site Name of WebSiteAnon
- Set the physical path to C:\inetpub (this is not really used and can be set to another folder if required)
- Set the port to 89
- Click OK
2. Enable Windows Authentication:
- Click on the new website in the tree node
- Double click on Authentication
- Right click on Windows Authentication and choose Enable
3. Set up the application pool:
- Click on Application Pools in the tree view
- Right click on the new application pool in the main window and choose Advanced Settings
- Ensure the .NET CLR Version is 4.0
- Make sure the Managed Pipeline Mode is Integrated
- Set the Identity to a Sage 200 user who has suitable roles and company access
- Click OK
4. Apply the self signed certificate to the website:
- Right click on the new website in the tree view and choose Edit Bindings
- Click Add
- The type should be https
- The port should be 289
- Set the SSL Certificate to the certificate you created for the web service
- Click OK
- Close the Site Bindings window
5. Add the Web Application:
- Right click on the new website in the tree view and choose Add Application
- The Alias should be WebSiteAnon
- The physical path should be C:\APIWebSiteAnon
- Click OK
6. Test Website
You should now be able to test the website by using a web browser and going to:
https://yourservername:288/WebSiteAnon.
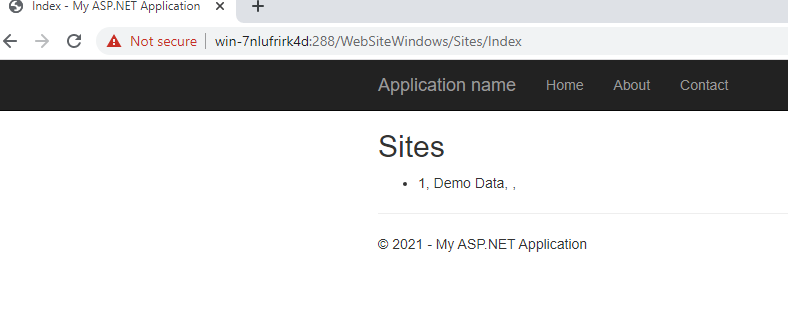
The solution has options to GET sites and departments.
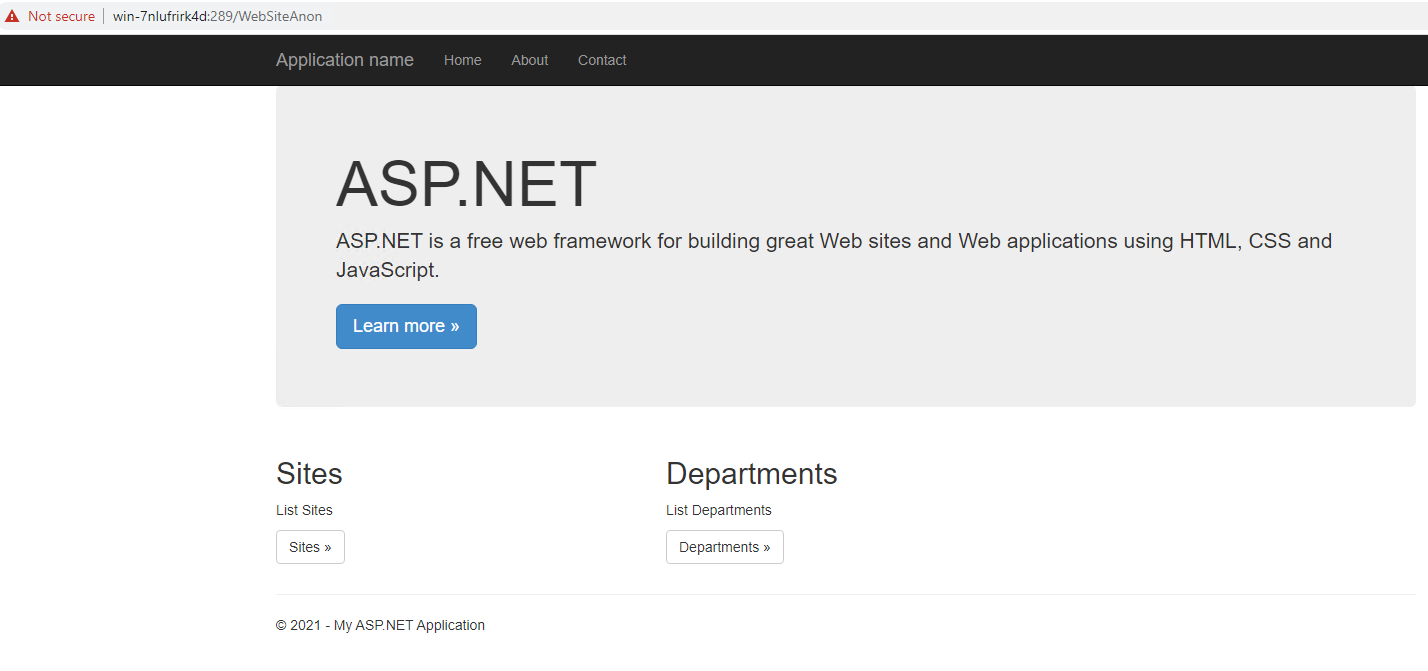
Sites will return all the companies the Identity user has access to
Next Steps
If you wish to make use of the APIWindowsClient solution, please follow the steps in this guide.
If you wish to make use of the APIWebSiteWindows solution, please follow the steps in this guide.