APIWindowsClient Instructions
Less than to read
How to use the APIWindowsClient solution
This guide will outline the steps to use APIWindowsClient solution. Before following this guide, you must read through the Windows Authentication guide on how to set up API access via Windows Authentication.
Once you have confirmed the API is up and you can return sites from your browser, you can use the APIWindowsClient solution to test and make calls to the API.
On your development machine
- Unzip the APIWindowsClient solution and open this in Visual Studio.
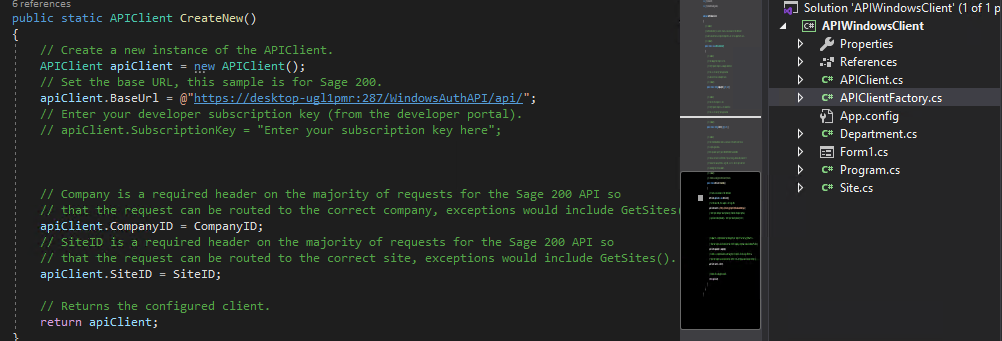
- Open the APIClientFactory.cs class
-
In the CreateNew method, change the BaseUrl to match your machine name and port of your web service.
- Once completed, go to Build and then Build Solution. This will output the .exe file into the output folder.
On your target machine
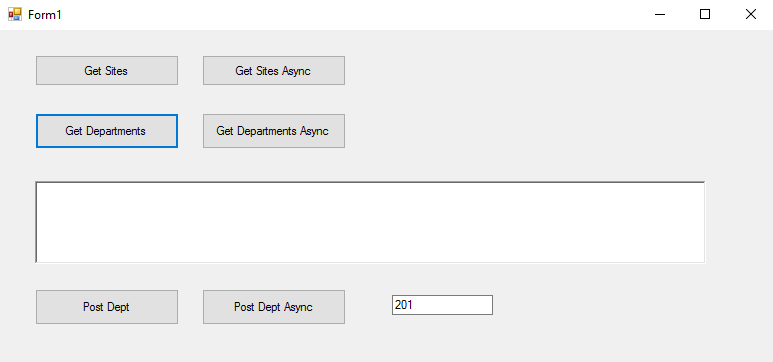
You can now run the new client on this machine. The form will look like this:
-
*Clicking on Get Sites will return all companies the currently logged on Sage 200 User will have access to.
-
Clicking on Get Departments will return all departments for the companies the currently logged on Sage 200 User will have access to.
-
Using the Windows form, you can also POST requests to your Sage 200 data using the Post Dept button. The number in the bottom right hand box will be the Department code that is created. You can use this form as a base for any in house API development work using Windows Forms.
Next Steps
If you wish to make use of the APIWebSiteWindows solution, please follow the steps in this guide
If you wish to make use of the APIWebSiteAnon solution, please follow the steps in this guide.