Transaction Import v2 UI Integration
Less than to read
This guide covers the UI integration for Transaction Import v2. Before a user can utilise the transaction import functionality, they must have a bank account created in the Banking Service. To create a placeholder bank account follow the placeholder bank account guide.
New Functionalities and Improvements in TI v2
- New URL and parameters to call Transaction Import v2 UI.
- Customers can upload multi-account files.
- File format selection is discarded from the UI.
- Date format selection is discarded from file upload view. If the system cannot match the date format with the default format (YYYY/MM/DD), a new Date Selection view will be shown, and customers are expected to select the date format.
- A new Account Selection view is presented to customers to select bank identifiers for multi-account files.
- Customers can go back to their most recent left process and complete the file import.
- All views are redesigned with UX improvements.
- Error/Warning messages are improved.
Step 1. Obtain an access token
Before integrating with the Banking Service UI, integrate with the Authentication Service.
To work with Banking Service, you need an access token (JWT) from Authentication Service. The JWT is generated using the unique IDs of the organisation (organisationId) and company (companyId). This JWT can be provided as a bearer token for Banking Service requests through the authorisation header: ‘Bearer ‘.
Step 2. Create the common UI URL
The Transaction Import v2 URL is different. So, the products want to adapt TI v2 should use the new URL and parameters.
Required parameters
| Parameter Name | Type | Description |
|---|---|---|
| defaultCountry | string | Used for determining which country to use for the bank account when creating an import. |
| bankAccountId | string | Used for determining which bank account to use when creating an import. |
| currencyCode | string | Used to determine which currency to use for the UI. |
| bankId | string | Used to determine which bank to use for the import. |
| JWT | string | Used to authenticate the user. |
| lang | string | Used to determine which language to use for the UI (defaults to en-gb). |
Optional parameters
| Parameter Name | Type | Description | Default Value |
|---|---|---|---|
| accountRef | string | Used to pass accountRef to transaction import process. | |
| dateFormat | string | To format all dates in the UI if provided. | |
| transactionStartDate | string | Used to set the product dates in the import request if provided. | |
| transactionEndDate | string | Used to set the product dates in the import request if provided. | |
| bcApiRegion | string | Used to determine which API region to use for banking cloud requests. | |
| bypassReplayValidation | boolean | Used to allow uploading duplicate files. If it is true and the file is detected for duplicates, it will still be processed. | FALSE – If it is not set on product level. |
| productName | string | Product name to be used in the UI. | |
| bankAccountName | string | Used to display the bank account name in the UI if provided. | |
| continueTo | string | Used to display the label for the continue button in the UI. | |
| xFrameDomain | string | Used to determine which domain to use cross-domain messaging. | |
| uxTheme | string | Used to set theme for the UI (default or medium). | default - |
| optionalComments | boolean | Used to determine whether to show the optional comments field in the UI prior to import. | TRUE |
| showSummary | boolean | Used to determine whether to show the summary/completion screen in the UI after successful import. | FALSE |
| showBankName | string | Used to determine whether to show the bank name in the UI. | |
| allowExitMidflow | boolean | Used to determine whether to allow the user to exit the flow mid-way through. | FALSE |
Environment
| Environment | URL |
|---|---|
| DEV | https://dev-money.sage.com |
| QA | https://qa-money.sage.com |
| PRE-PROD | https://pp-money.sage.com |
| SANDBOX | https://sandbox-money.sage.com |
| PROD | https://money.sage.com |
Step 3. User follows the transaction import UI
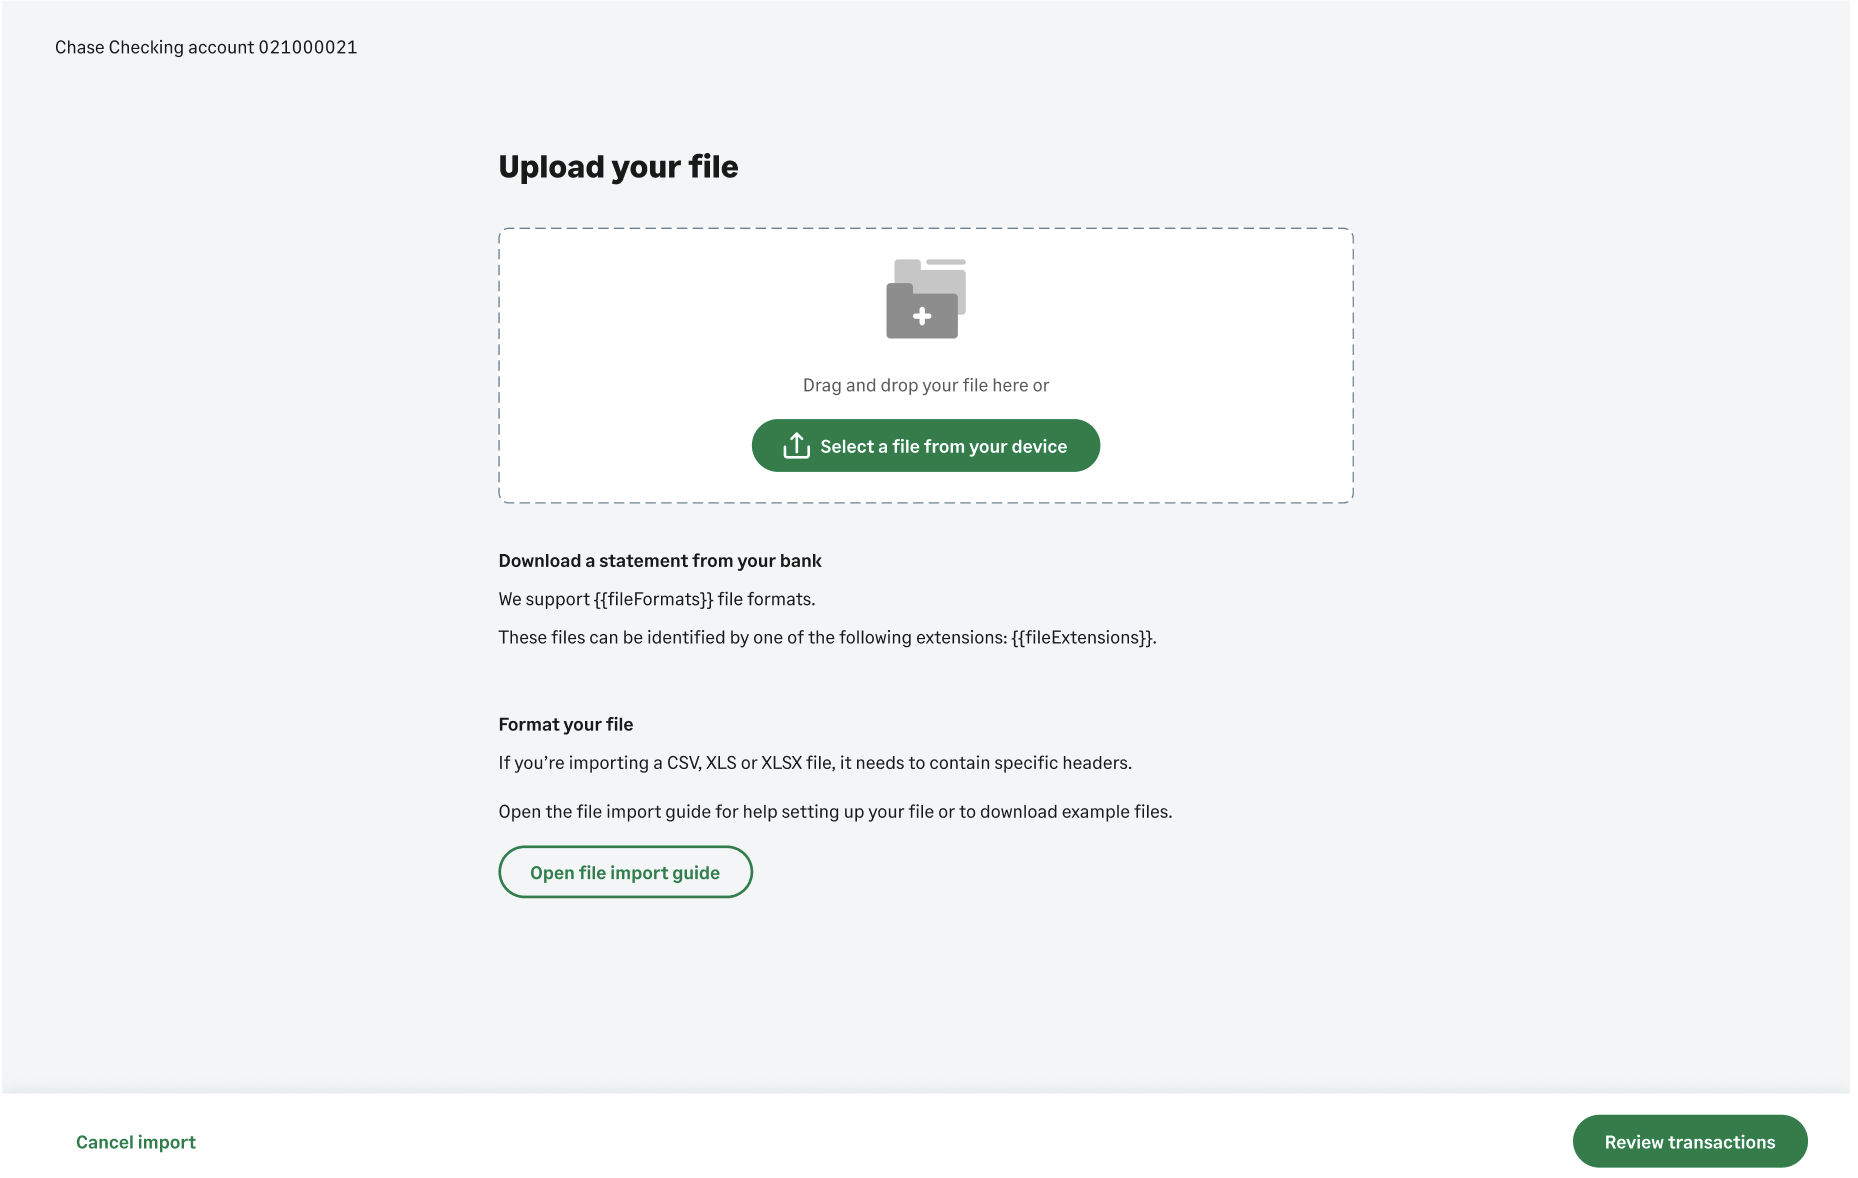
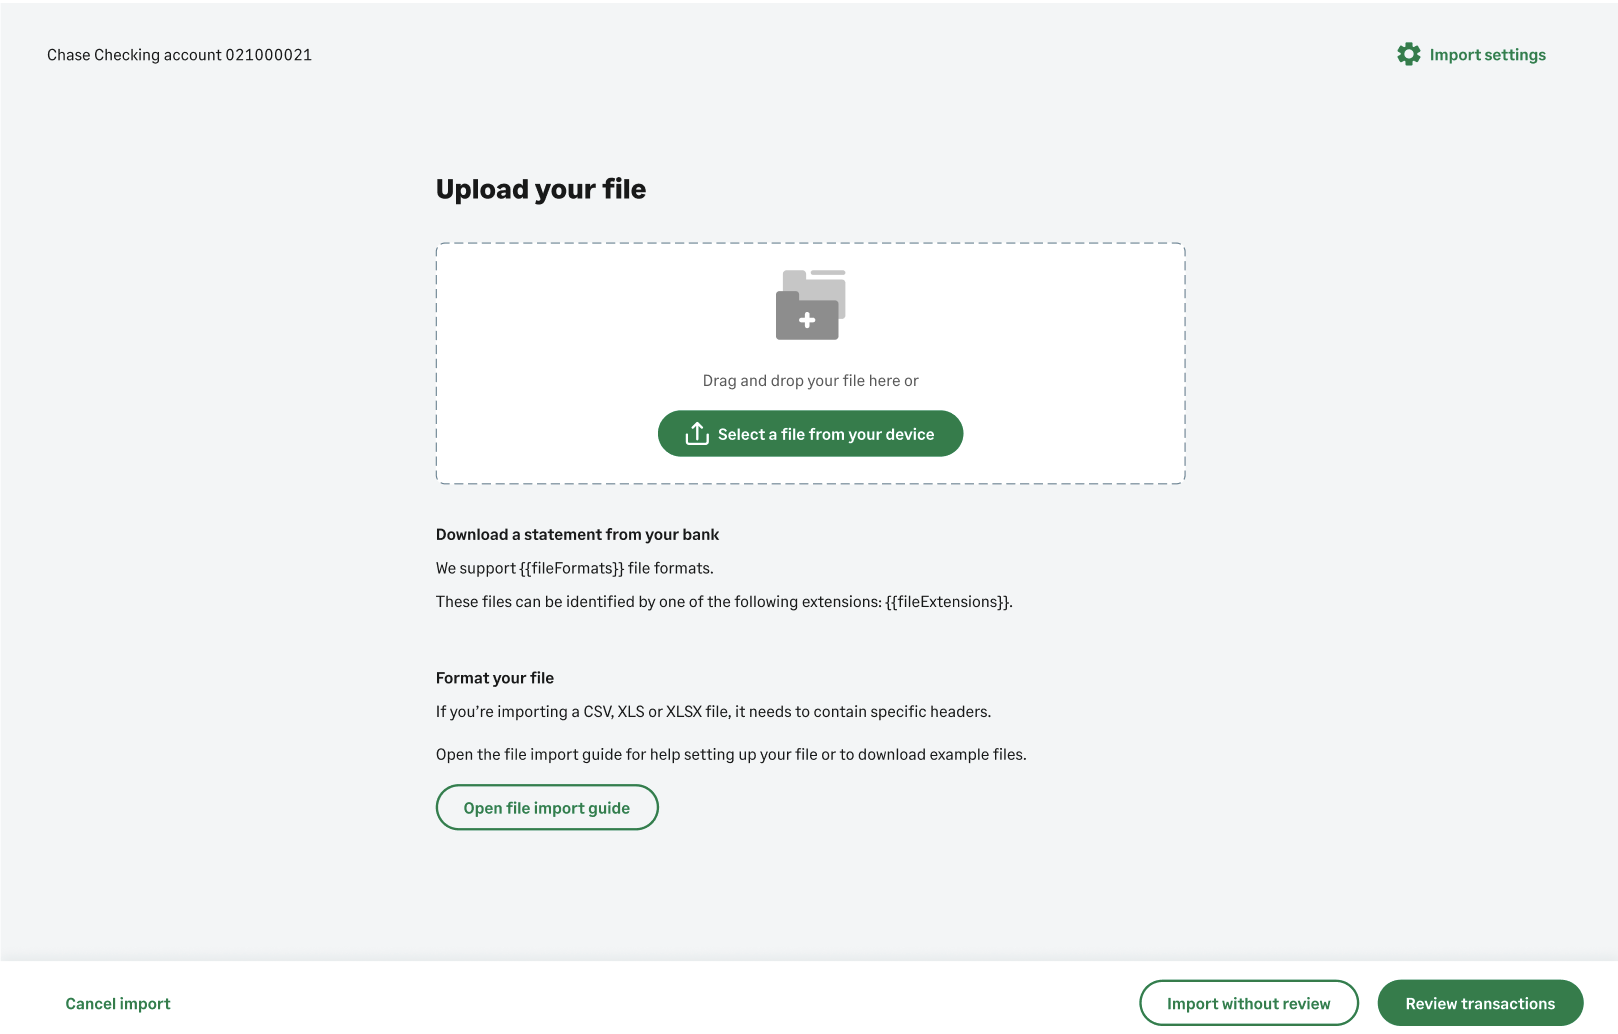
3.1 Upload transactions
The 1st step allows the user to upload a file through drag and drop or through the select file options. The user does not need to select file type and date format anymore during file upload in TI v2. If this is a subsequent file upload for the selected account, the customer has the option to skip.
Supported file formats and extensions
| Name | Formats/Extensions |
|---|---|
| File Formats: | BAI2, CAMT053, OFX, ASO, QIF, CSV, XLS(X) |
| File Extensions: | BAI, XML, TXT, OFX, ASO, QBO, QFX, QIF, CSV, XLS, XLSX |
| Single Account File Types: | CSV, XLS, XLSX, QIF |
| Multi Account File Types: | BAI2, CAMT053, ASO |
First time file import
Subsequent file import
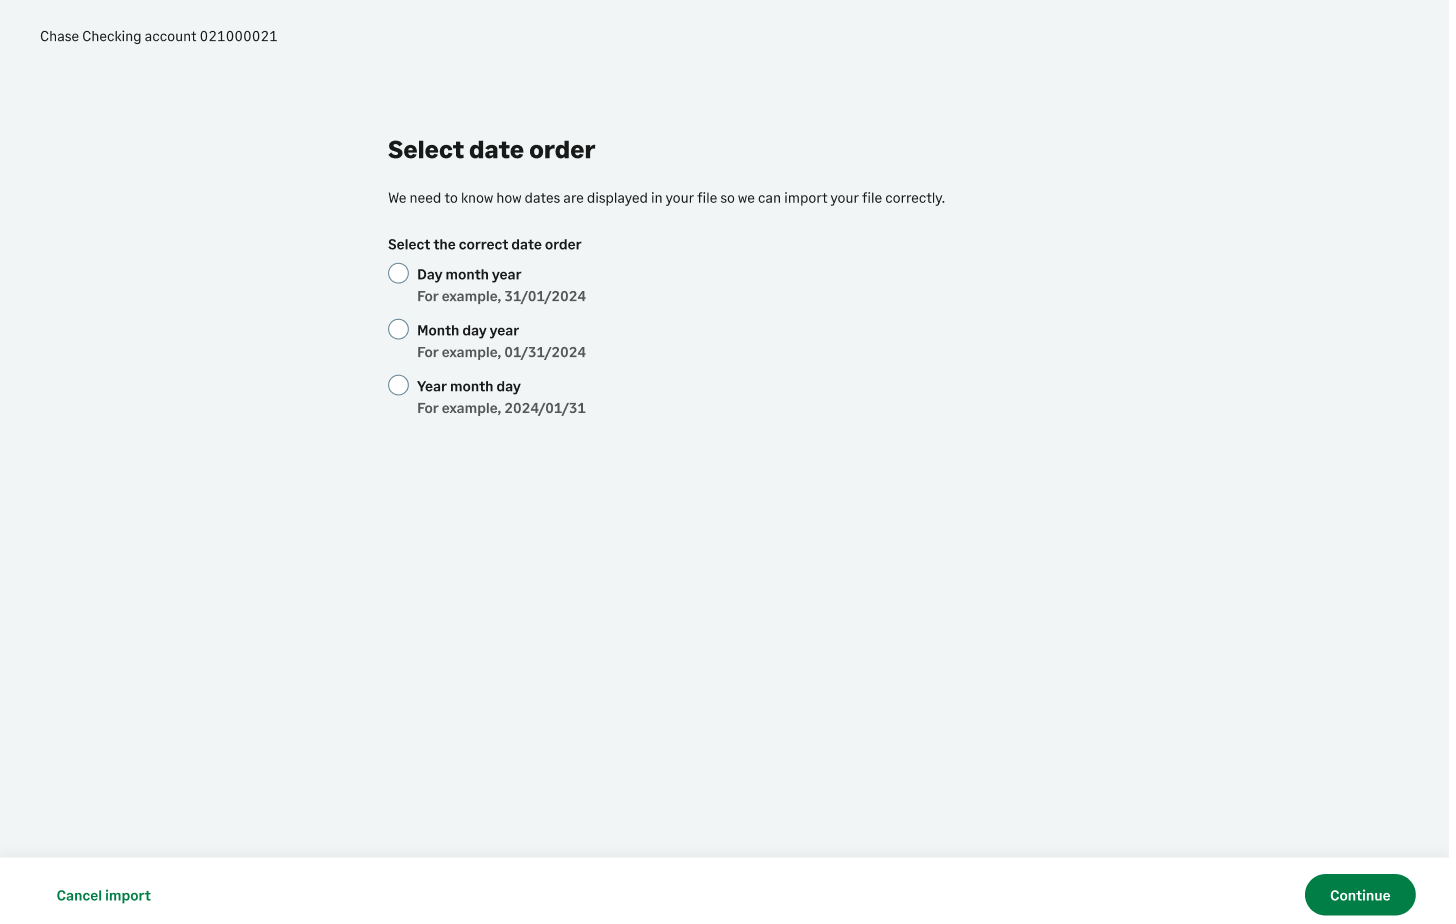
3.2 Select a start date
If the date format in the file is not big endian (YYYY/MM/DD) customer is displayed Date Selection view to select the correct data format for their file.
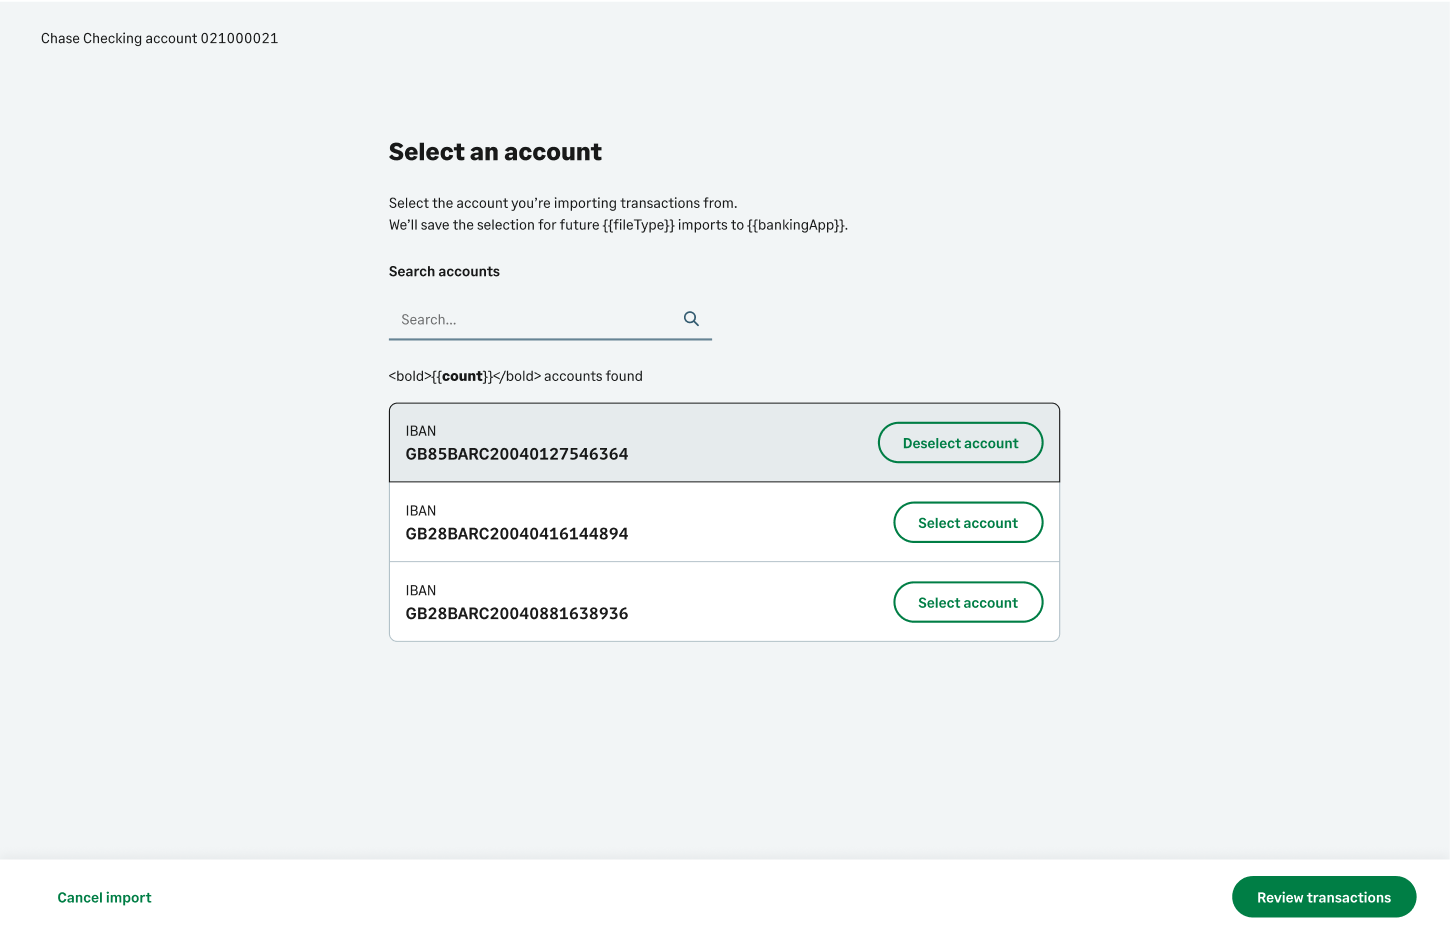
3.3 Map account
If the import is executed for the first time for the selected account and the file contains multiple account identifiers, the customer is displayed the Account Selection view to map the selected account from the product with a bank identifier in the file.
The system will attempt to upload the file with the backend API validating the content. If there are any errors or issues with the file, an appropriate error message is displayed to the user. Please refer to Error and Warning Messages section for the full error and warning messages.
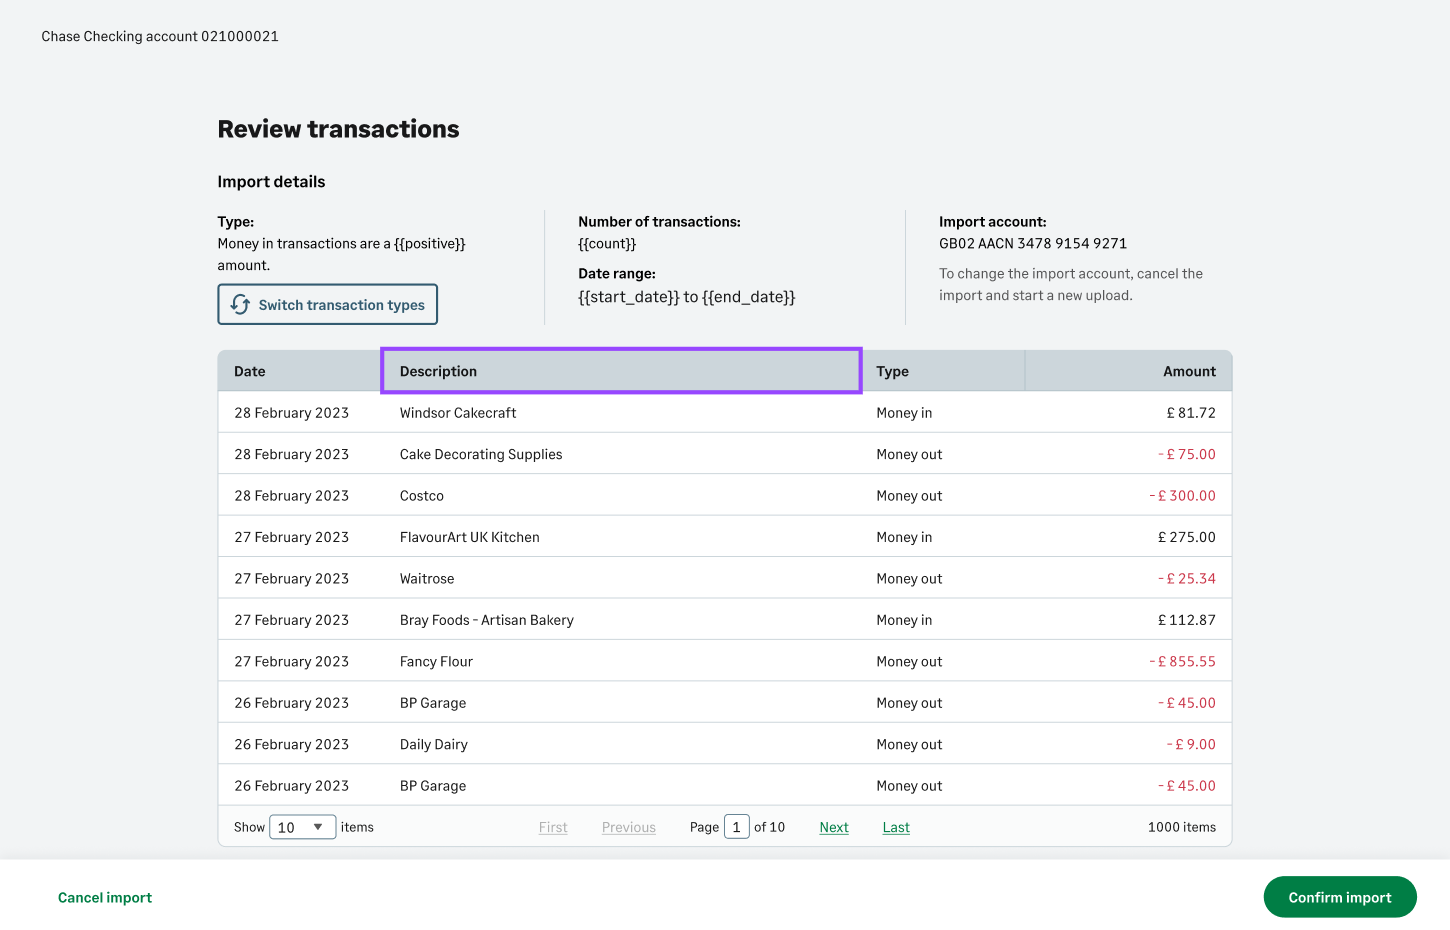
3.4 Review Transactions
When a file has been uploaded without error, the final step allows the user to review their transactions brought in from the uploaded file. All the transactions, bank account details, bank details, and transaction date ranges are displayed. Transaction type allows the Banking Service to identify which transactions indicate money coming in and money out of an account. The transaction types are set to default values.
- Transactions without minus (-) will be displayed as type Money in (credit)
- Transactions with minus (-) will be displayed as type Money out (debit)
The user has the option to change the transaction type. Based on the selection, The UI will display the rest of the transactions in the correct format.
If there are any duplicate transactions (transactions imported previously for the same dates), a warning will be displayed to the user.
When reviewed, the user will select the Confirm import button. This will notify Banking Service to begin the import. When the file has been processed, the child UI will post back a message to the parent product with details. The user is then redirected back to their product.
Step 4. Handle message returned from the child UI
All transaction import v1 events will be sent simultaneously with v2 events to provide backwards compatibility for v1 but note that all v1 events are deprecated. We encourage adapting products to use v2 events while adapting TI v2.
4.1 iFrame Notifications
When loading the Banking UI within an iFrame, notification messages will be posted back to the parent window by through the use of the postMessage() method. To get messages back from the Banking UI, implement the recieveMessage() method as demonstrated in the following code snippet. As this method uses window.parent.postMessages. The value of xFrameDomain parameter is used as the targetOrigin so this can only be used by applications hosted on the web and using an iframe to integrate the TI UI.
    function receiveMessage(event) {
        // Add security to ensure you trust the sender of this message
        console.log("MY Data:", event);
    }
    window.addEventListener("message", receiveMessage, false);
Message Structure
  "message": "tiCompleted",
  "data": {
    "importId": "...",
    "bankId": "...",
    "bankAccountId": "..."

     "fileName":  "..."
  }
The following postback results should be handled:
| Action | Messages |
|---|---|
| File is uploaded successfully (Import process is initiated) | tiStarted |
| Processing file is started | tiConfirmed |
| Processing file is successfully completed. Transactions are sent to banking | tiCompleted |
| Cancel Import | tiCancelled |
| Closing UI by banking X button or Close Window button | CloseUI |
Import started
This message is sent when the processing of the file in Banking Service has started.
{ "message": "tiStarted", "data": { "importId": "fileImportId", "bankId": "bankId", "bankAccountId": "bankAccountId", "fileName" : "fileName" }}
Import confirmed
This message is sent to confirm the import was successful. This occurs then the API completes the file import successfully and transactions are sent to banking. You can store the ‘fileImportId’ for that specific ‘bankAccountId’. This allows you to track the import to a specific account, company and organisation.
{ "message": "tiConfirmed", "data": { "importId": "fileImportId", "bankId": "bankId", "bankAccountId": "bankAccountId"}}
Import cancelled
This is sent when a user chooses to cancel the import at any point during the import journey.
{ "message": "tiCancelled", "data": {"ImportId": "importId"}}
4.2 CefSharp Notifications
For CefSharp integrations, the consumer must ensure to use CefSharp.BindObjectAsync to bind an object named sageJS which implements the required functions listed below.
| Action | Functions |
|---|---|
| File is uploaded successfully (Import process is initiated) | sageJS.tiStarted() |
| Processing file is started | sageJS.tiConfirmed() |
| Processing file is successfully completed. Transactions are sent to banking | sageJS.tiCompleted() |
| Cancel Import – This could be in any stage | sageJS.tiCancelled() |
| Closing UI by banking X button or Close Window button | sageJS.CloseWindow() |
4.3 window.external Notifications
window.external.closeWindow() is to be used for legacy integrations.
| Action | Functions |
|---|---|
| Processing file is successfully completed. Transactions are sent to banking | window.external.closeWindow() |
| Cancel Import – This could be in any stage | window.external.closeWindow() |
| Closing UI by banking X button or Close Window button | window.external.closeWindow() |
Step 5. Handle the closing of the iFrame
When you’ve received the post message confirming the transaction import, you should handle the closing of the iFrame and direct the user back to their product. You can then call the GET /transactions endpoint to get the newly uploaded transactions.
Recap
In this walkthrough we’ve covered how to load the transaction import UI with a bank account or placeholder bank account in an iFrame. We have also covered the steps the user would take when using the common UI to upload transactions and anything your solution would need to action.