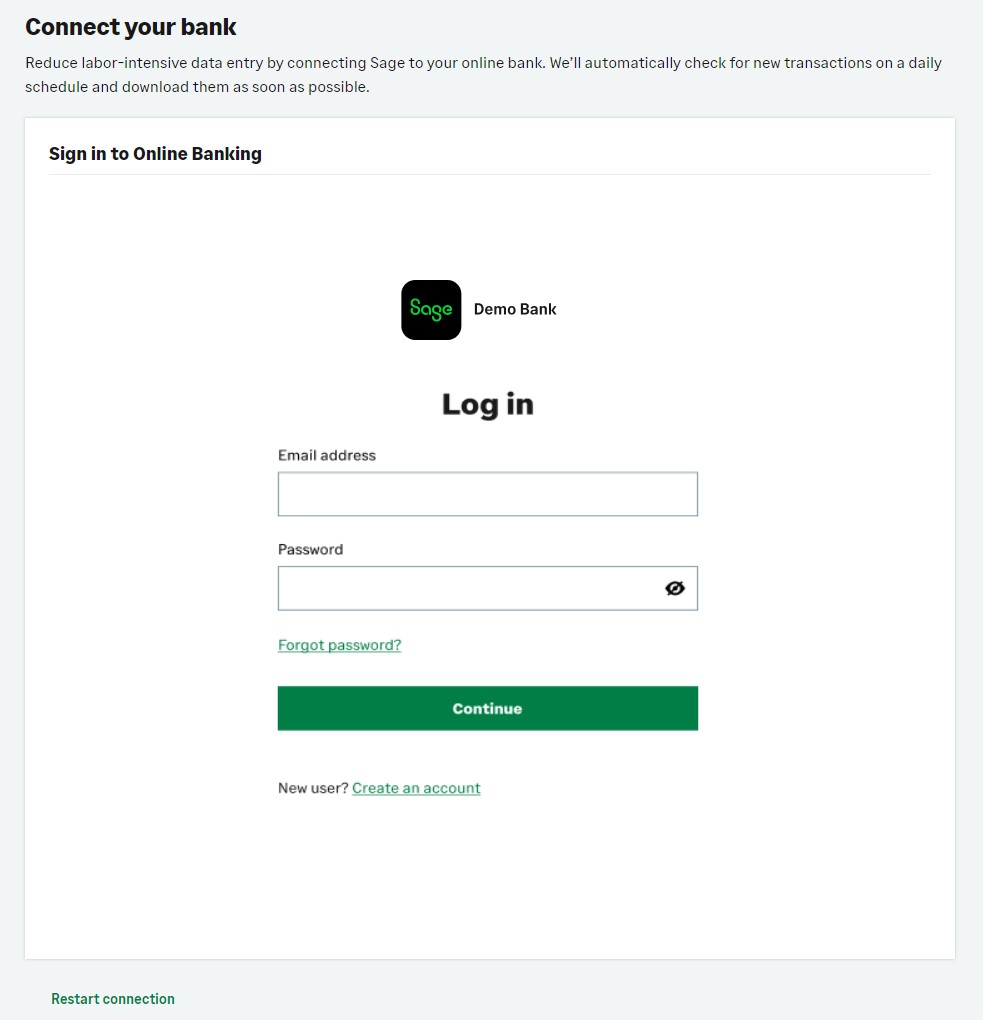
Reauthentication UI
Less than to read
This guide walks through the development requirements for a web-based product integrating with bank feeds UI for reauthentication.
API flow diagram

Step 1. Check account status
When calling the get transactions endpoint, you should check the status field on the bankAccount object returned. If the account status is set to authRequired, begin the reauthentication flow for this account.
Step 2. Obtain an access token
Before integrating with the Banking Service UI, integrate with the Authentication Service.
To work with Banking Service, you need an access token (JWT) from Authentication Service. The JWT is generated using the unique IDs of the organisation (organisationId) and company (companyId). This JWT can be provided as a bearer token for Banking Service requests through the authorisation header: ‘Bearer ‘.
Step 3. Create the common UI URL
Create a bank feeds UI launch URL. This will launch the common UI in an iFrame inside a full dialogue modal window.
Required parameters
-
{Environment}
DEV → https://dev-money.sage.com
QA → https://qa-money.sage.com
PRE-PROD → https://pp-money.sage.com
SANDBOX → https://sandbox-money.sage.com
PROD → https://money.sage.com {route}= the value to launch bank feeds reauthentication is banking-cloud_reauth.{JWT}= the JWT from Sage Network Platform Authentication Service.{lang}= the language used for display of content translations [for example, en-us, en-uk, fr-fr, fr-ca, es-es].{UXSettings}= UI experience settings. Preset options are: default, wpb-preview, web-iframe, web-popup, sage-desktop, intacct-banking. This field only changes the UI styling and does not affect any core functionality.{bcApiRegion}= region for Banking API call, defaults to US. Available options are EU and US.{countryCode}= the default country code for bank listings, for example USA, GBR.{productname}= the product the import is initiated from.{bankAccountId}= the bank’s account ID, for example, 59d4ca99-9da6-476f-ab11-8989e459239b{bankAccountName}= the bank’s name, for example, Bank of America{currencyCode}= possible value for currency code are: “USD”, “CAD”,”GBP”,”AUD”,”ZAR”,”MYR”,”EUR”,”BRL”.{accountRef}= the account reference detail. This is a combination of sort code (UK), routing number (USA), IBAN.{xFrameDomain}= the product domain URL. This needs to match the domain which is on the allowlist with your product identifier.{dateFormat}= regional date format to use, for example, DD%2FMM%2FYYYY.{multipleAccounts}= allow the setup of multiple accounts. Set to true or false. The default is true.{allowCountrySelection}= display country selection options. Set to y or n. The default is y.{UiRedirectUrlOnCompletion}= the URL to redirect the user to when onboard is complete.
Step 4. Load the URL
Create full screen dialogue modal https://brand.sage.com/d/NdbrveWvNheA/components#/containers/dialogs-full-screen and open it when the user selects transaction import button.
Full screen modal dialog code snippet
<!-- The Modal -->
    <div id="dvFileImportV1" class="modal">
        <!-- Modal content -->
        <div class="modal-content">
            <span class="close">×</span>
            <div>
                <iframe id="iframeWPBUIFileImportV1" height="850px" style="width: 100%;" src="" allow="fullscreen"></iframe>
            </div>
        </div>
    </div>
Prepare file import v1 UI URL and load into an iFrame
const launchURL =
`${Environment}/xframe.html?apptokenroute=/${route}/${JWT}/
${lang}/{UXSettings}
&bcApiRegion=${bcRegion}
&defaultCountry=${countryCode}
&productname=${productName}
&bankAccountId=${bankAccountId}
&bankAccountName=${bankAccountName}
&accountRef=${bankAccountRef}
¤cyCode=${currencyCode}
&xFrameDomain=${xframeDomain}
&UiRedirectUrlOnCompletion=${UiRedirectUrlOnCompletion}`;
const modal = document.getElementById("dvFileImportV1");
modal.style.display = "block";
document.getElementById('iframeWPBUIFileImportV1').src = launchURL;
.
Step 5. User follows the bank feeds UI
Enter reauthentication requirements
Depending on the bank there can be various reauthorisation steps. The most common is re-entering banking credentials, other options could be to choose continue to extend their authorisation consent.
Step 6. Handle messages returned from the iFrame
The Banking UI loading in the iFrame will post a message to the parent window by calling the postMessage() method. To retrieve these messages back from the Banking UI, implement the recieveMessage() method as demonstrated:
    function receiveMessage(event) {
        // Add security to ensure you trust the sender of this message
        console.log("MY Data:", event);
    }
    window.addEventListener("message", receiveMessage, false);
The following postback results will notify the user when the account has been reauthenticated.
{ "message": "continue", "data": { "fields": [], "acccountId": "bankAccountId", "accountStatus": "bankAccountStatus"}};
Step 7. Closing the common UI
When you recieve the account active message, you can close the UI and return the user to their in-product bank account.
Step 8. Save account details
Store the accountId returned in the post message response in the database.
Guides
Recap
In this walkthrough we have covered how to reauthorise an account through the Banking UI in an iFrame.