Dive into the local installation process of the Sample Quote Management app.
This step-by-step guide takes you through setting up both the frontend server and the proxy server.
Install and Test the app Locally
Quick Links
Accounts Accounting Entries Products Customers Sales quotes Sales invoices Suppliers Purchase invoicesAfter testing the Sample Quote Management app in online mode, you are now ready to set up a local environment.
This involves installing a server for the app’s frontend and another server for the proxy.
By doing so, you will start to gain a deeper understanding of the technical workings and interactions with the public API.
Local Installation for the Sample Quote Management App
Prerequisites
Install node.js
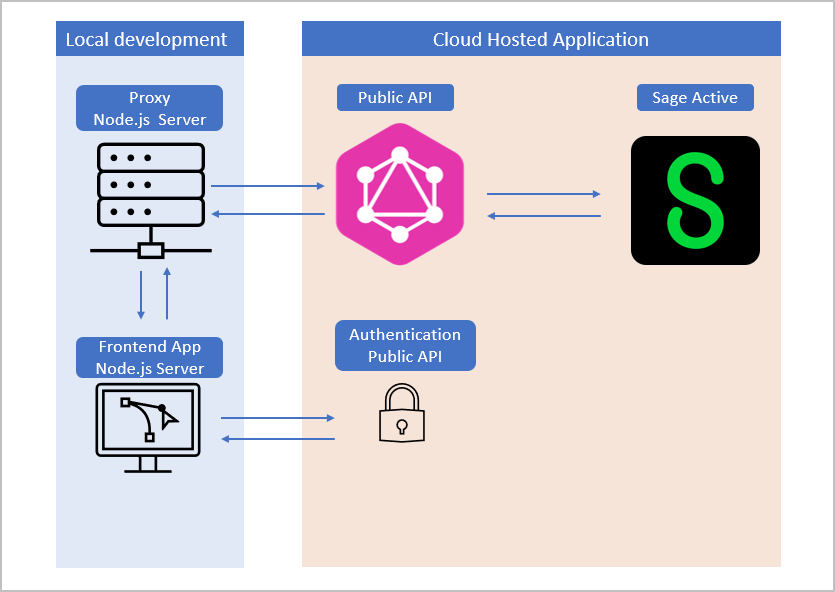
For local development of the frontend application and the proxy, two web servers are required.
One approach is to utilize Node.js, which offers a lightweight and efficient solution for such a setup.
One approach is to utilize Node.js, which offers a lightweight and efficient solution for such a setup.
- The frontend application can be hosted on a Node.js server locally, accessible via
http://127.0.0.1:4001/demo.html. - Similarly, the proxy can run on a separate Node.js server at
http://127.0.0.1:3000.
Later, when the proxy is deployed to a cloud service like Azure App Service, to continue testing and developing the frontend locally, modify proxyUrl in the frontend’s config.json to point to the cloud-hosted proxy URL.
To install Node.js on a Windows system, follow these steps:
- Download Node.js Installer:
- Go to the official Node.js download page.
- Select the
Windows Installeroption.
Choose either the 32-bit or 64-bit version based on your system.
- Run the Installer:
- Once downloaded, run the
.msifile to start the installation. - Follow the installation prompts, accepting the default settings unless you need custom configurations.
- Once downloaded, run the
- Verify Installation:
- After installation, open Command Prompt.
- Type
node -vand press Enter.This should display the installed version of Node.js, confirming the successful installation.
- Ready to Use:
- Node.js is now installed on your Windows machine and ready for use.
Obtain a client ID and a Subscription Key
You must create an application within the environment.
This will provide you with a
This will provide you with a
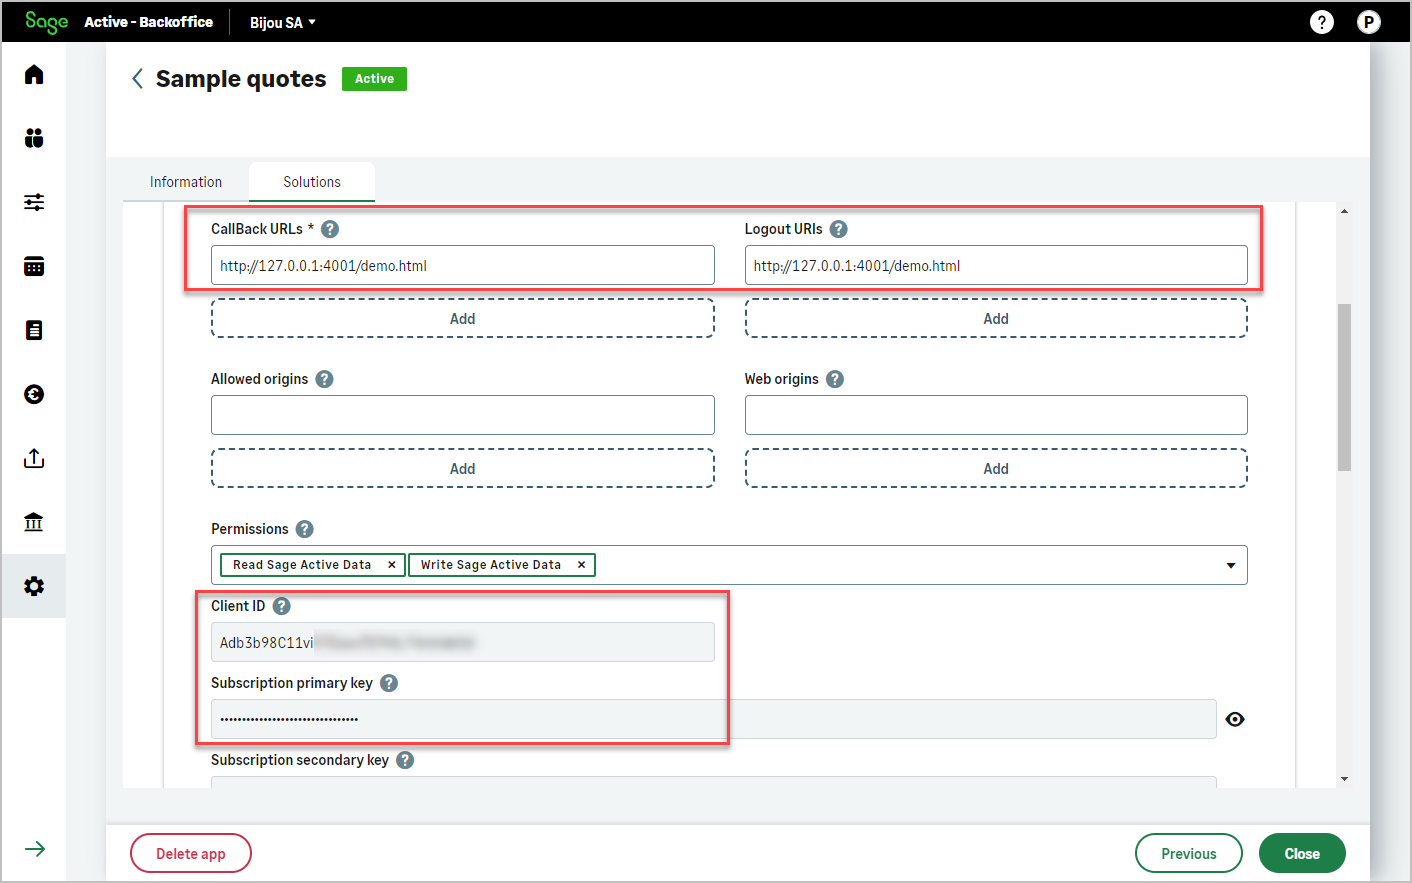
Client ID and a Subscription Key (x-api-key), which are crucial for accessing Sage Active data.
- Navigate to Public API / Application Key in the menu.
- Follow the instructions at Application keys for detailed guidance.
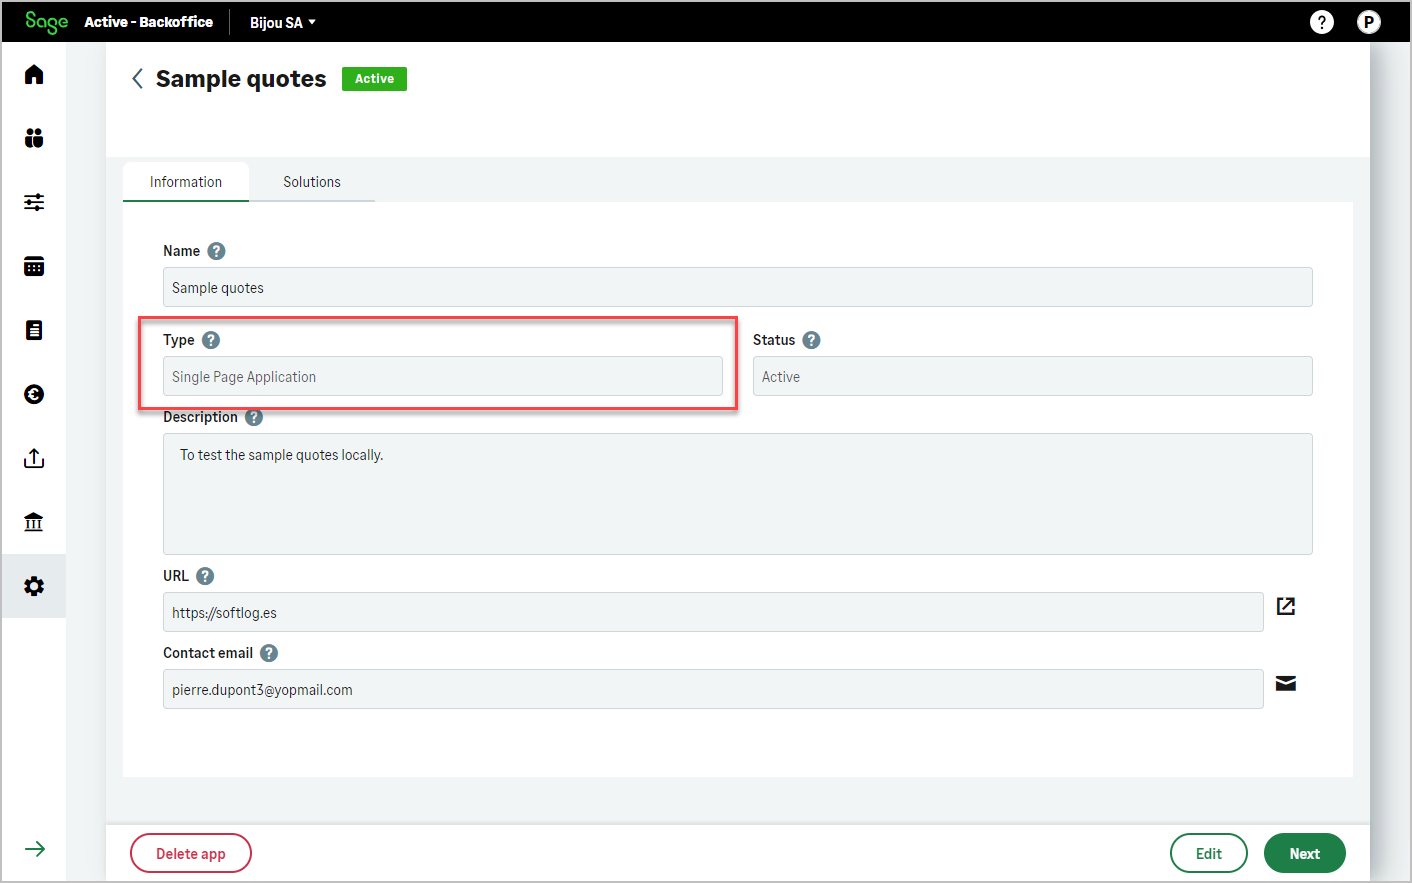
- You will need to choose the application type as
Single Page Application. - Define the callback URL as the URL of your frontend.
- Set the exact same URL for logout, as the app is Single Page Application.
- You will need to choose the application type as
Frontend Web Site
Download the Frontend Web Site Zip File and Extract It
-
Download the Zip File:
The frontend website is stored in a zip file.
Download the file from here: samplequotes.zip -
Extract the Zip File:
After downloading, extract the contents of samplequotes.zip into a local directory.
For example, you can extract it toC:\samplequotes.
Running the Frontend Locally
- Prerequisites:
- Node.js installed on your system.
- Install a Simple Server:
- Use
http-server, a simple zero-configuration command-line http server.
- Use
- Running the Server:
- Navigate to your frontend’s root directory (e.g.
c:\samplequotes) - open a Command Prompt.
- Run the server:
- This will serve your site at
http://127.0.0.1:4001.
- Navigate to your frontend’s root directory (e.g.
- Accessing the Frontend:
- Open a browser and go to http://127.0.0.1:4001/demo.html.
-
Your frontend should now be accessible locally.
Upon accessing the site, you might encounter an error message:
Error fetching environments:TypeError: Failed to fetch.
This is expected behavior at this stage because the frontend application is trying to communicate with the proxy server, which is not yet installed or launched. - Next, we will guide you through the process of locally installing and launching the proxy server to ensure the frontend can communicate with it successfully.
This step is crucial for the full functionality of your frontend application.
Proxy Server
Download the Proxy Server Zip File and Extract It
-
Download the Zip File:
The proxy server is stored in a zip file.
Download the file from here: sampleproxy.zip -
Extract the Zip File:
After downloading, extract the contents of sampleproxy.zip into a local directory.
For example, you can extract it toC:\proxy.
Setting Up the Local Proxy Server
- Installing Proxy Dependencies:
- While Node.js is already installed, your proxy needs additional packages.
- Open a Command Prompt in your proxy’s root directory (e.g.
C:\proxy) - Install the necessary packages:
- Have a package.json:
- Ensure you have
package.jsonin your proxy’s root directory.
If not, initialize your Node.js project with: - This will create
package.jsonandpackage-lock.json, which are used to manage your project’s dependencies.
- Ensure you have
- Configure the .env file
You’ll need to configure the.envfile with the ClientID and Subscription Key obtained during your application creation.- In the
.envfile:- Place the Subscription Key value in the
API_KEY_STAGEparameter. - Place the Client ID value in the
CLIENTID_STAGEparameter. - Ensure that the
ALLOWED_ORIGINSparameter correctly includes the domain of your frontend (e.g.,http://127.0.0.1:4001). - For the local proxy configuration, leave the other parameters unchanged.
- Place the Subscription Key value in the
- In the
- Launching the Proxy Server:
- Now, run your proxy server script with Node.js:
- The script includes a port configuration to listen on port 3000 by default.
-
Once launched, the console will display:
Server is running on port 3000.Attention
If you need to modify the parameters in the
.envfile, such as in the case of a configuration error, it’s important to stop the proxy server and restart it.
This ensures that the changes are properly applied and recognized by the system.
- Now, run your proxy server script with Node.js:
- Configuring the Frontend:
- With the proxy server running, return to the frontend’s
config.json. - If necessary change
proxyUrltohttp://127.0.0.1:3000to direct requests to your local proxy. - This allows you to develop and test the frontend with the proxy in place.
- With the proxy server running, return to the frontend’s
Final steps
Launching and Testing Your Application
Now that the local proxy server is set up, it’s time to initiate the frontend application or refresh the page if it’s already running.
- You should no longer encounter the
Error fetching environments: TypeError: Failed to fetch.
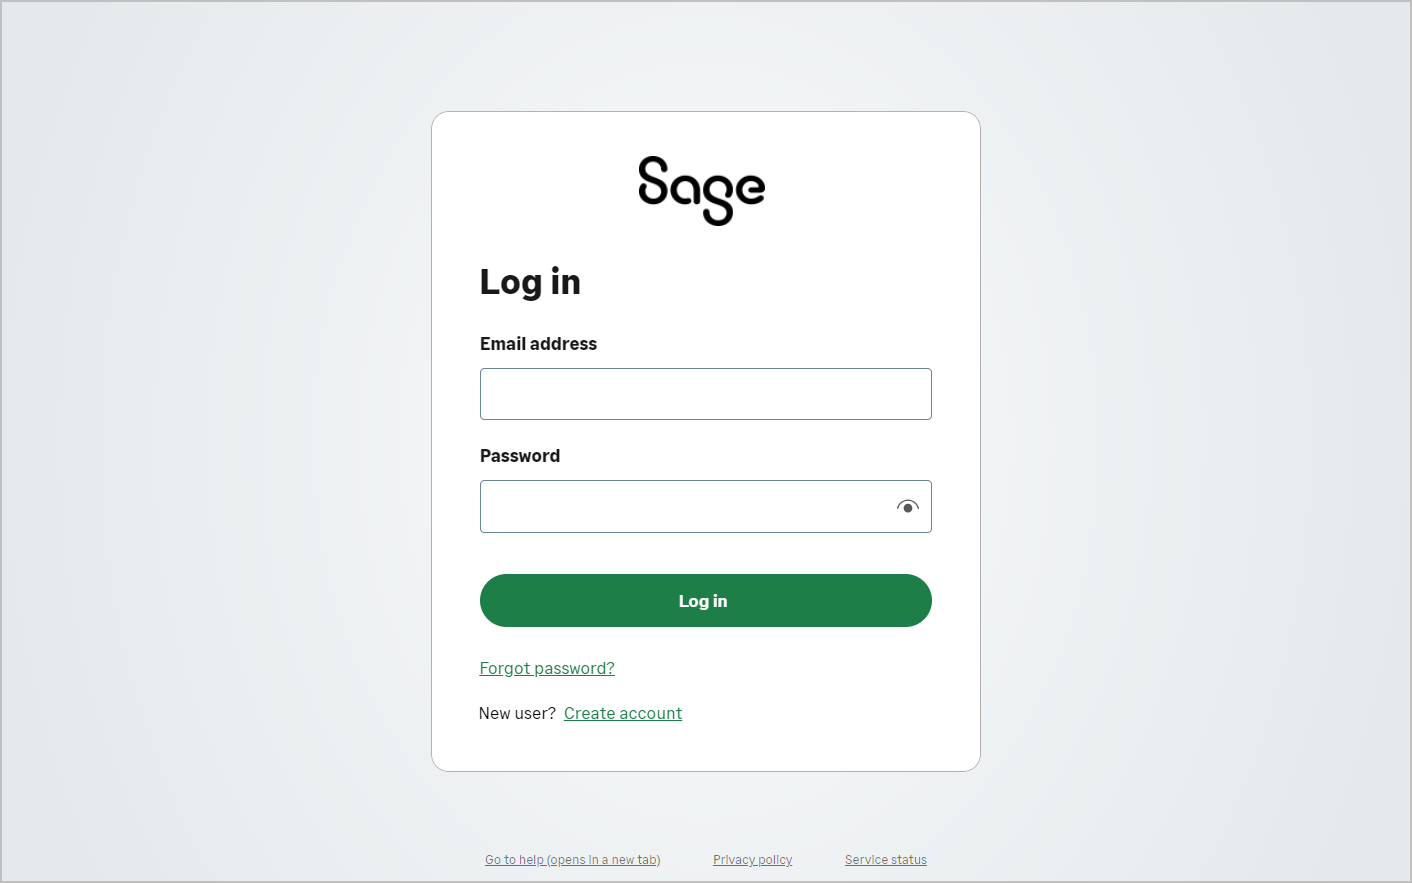
This indicates that the frontend can now successfully communicate with the proxy. - The application should prompt you to authenticate.
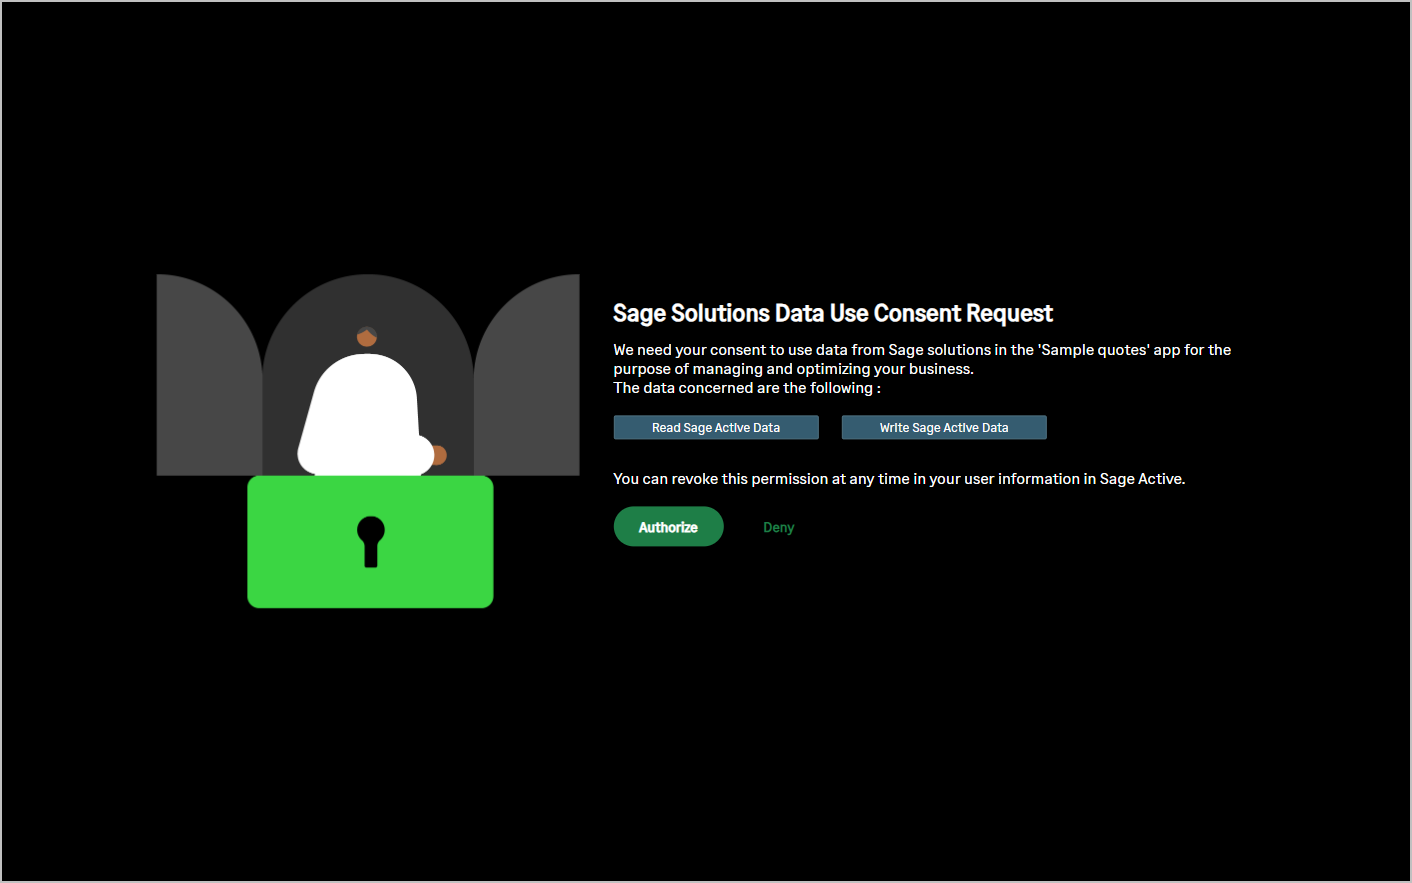
If you’re already logged into Sage Active, it might automatically authenticate using the current Sage Active user’s cookie in your browser. - Additionally, the first time you access the app with the current user, a consent request will be required. Key concepts / User consents
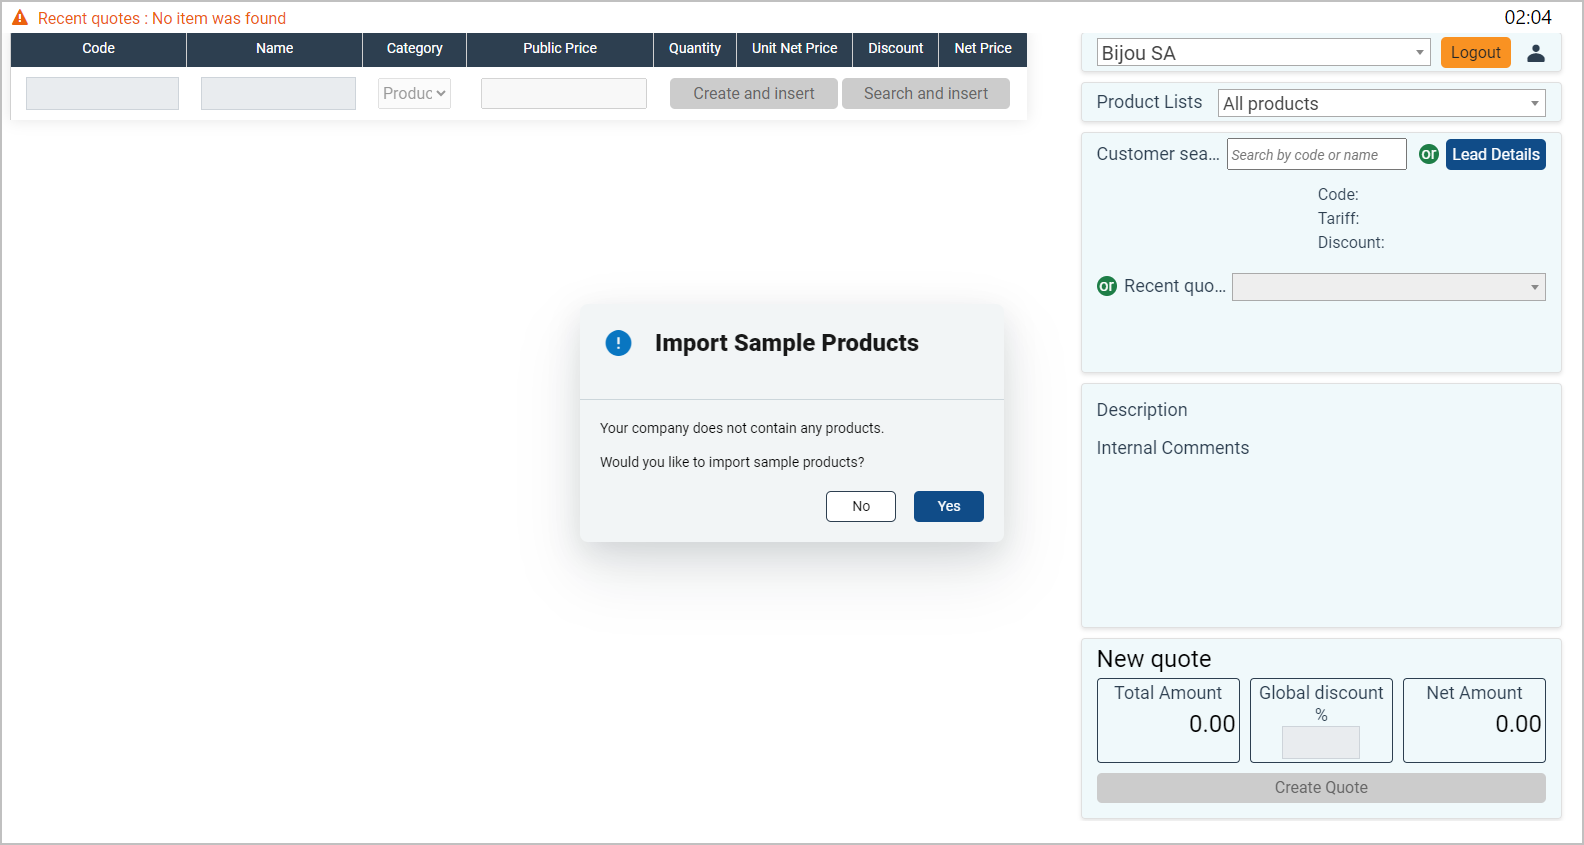
- Once authenticated and consent is granted, if the user is a valid Sage Active stage user, the app will function correctly, granting access to authorized organizations for the current user and offering all the functionalities identical to the online mode of the app.
Happy usage!
Enjoy exploring the functionalities and benefits your application offers.